Clubs

Sunday, January 20, 2019

Heart Happy Blog Hop


Thank you for joining us on this Blog Hop with lots of ideas and tips for you.. A Blog Hop is a 'circular' group of Blogs that you 'Hop' to (or click the link to) that will give you lots of tips, techniques and inspiration for the topic of the Blog Hop.  I hope you enjoy your time with us as well as the projects.
If you came fro Becca Whitham’s Blog you are on the right track!

I was in need of a bag for a friend’s gift that I will give soon and this kit is just the ticket!
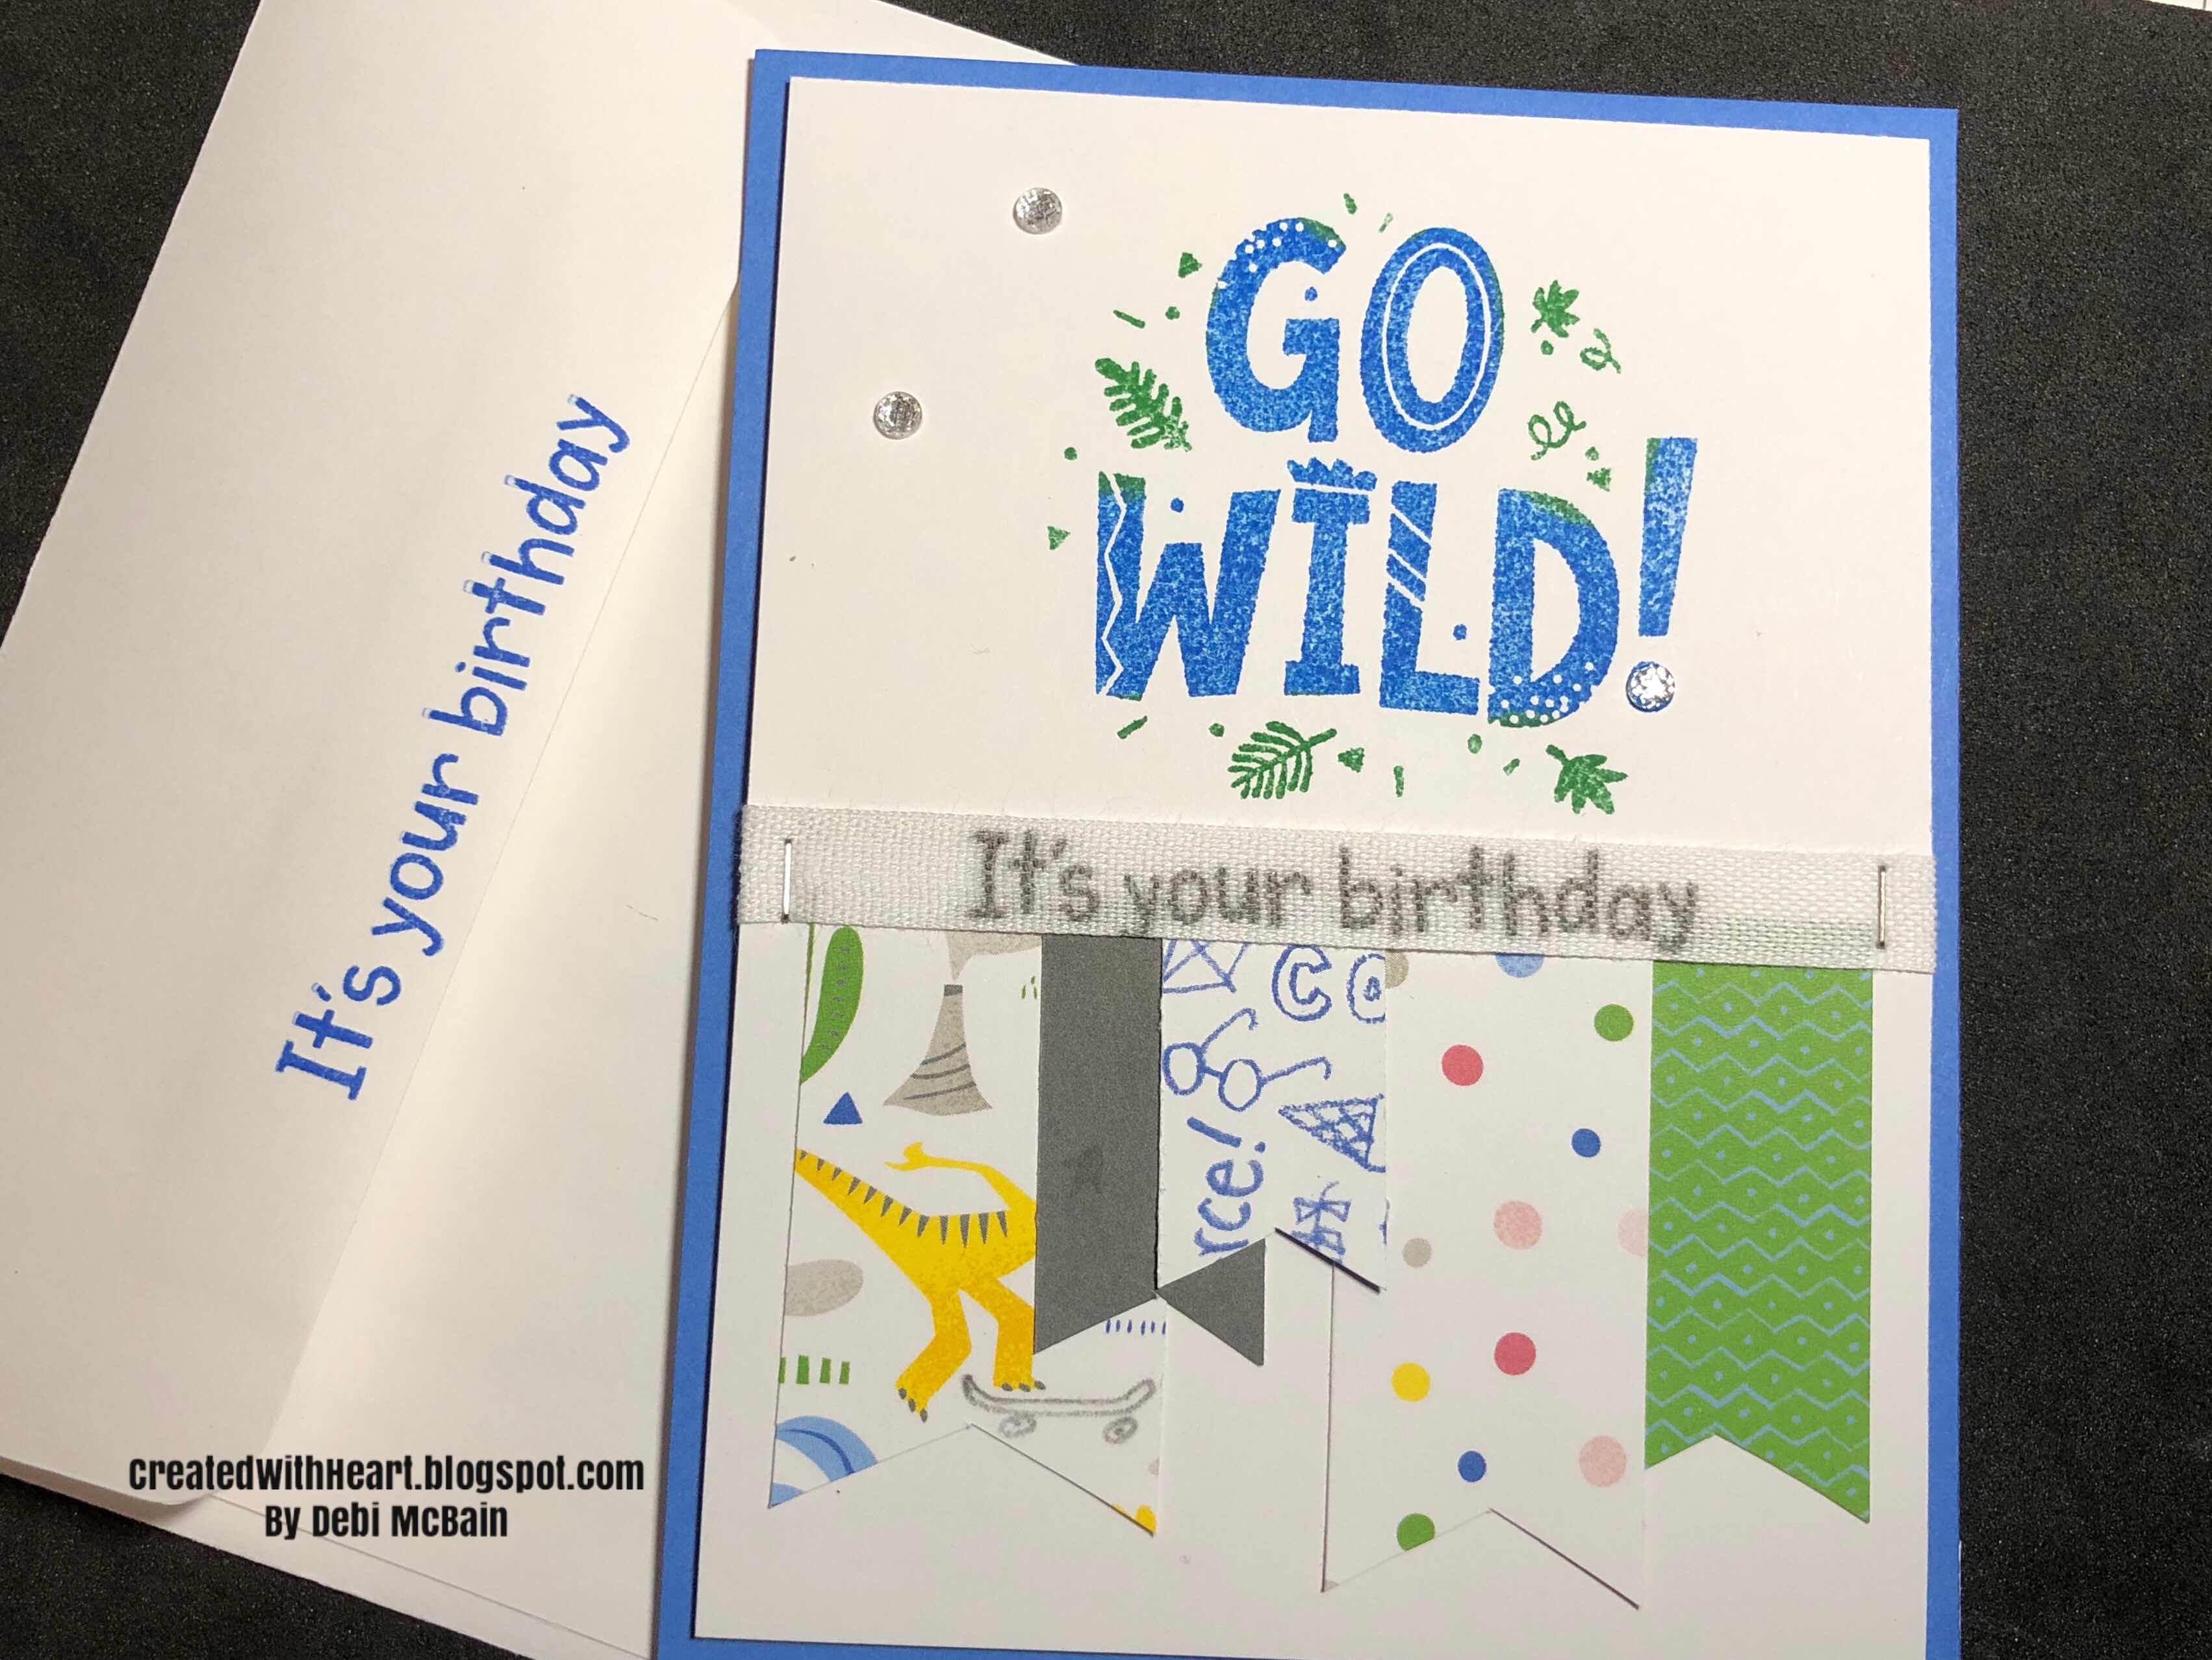
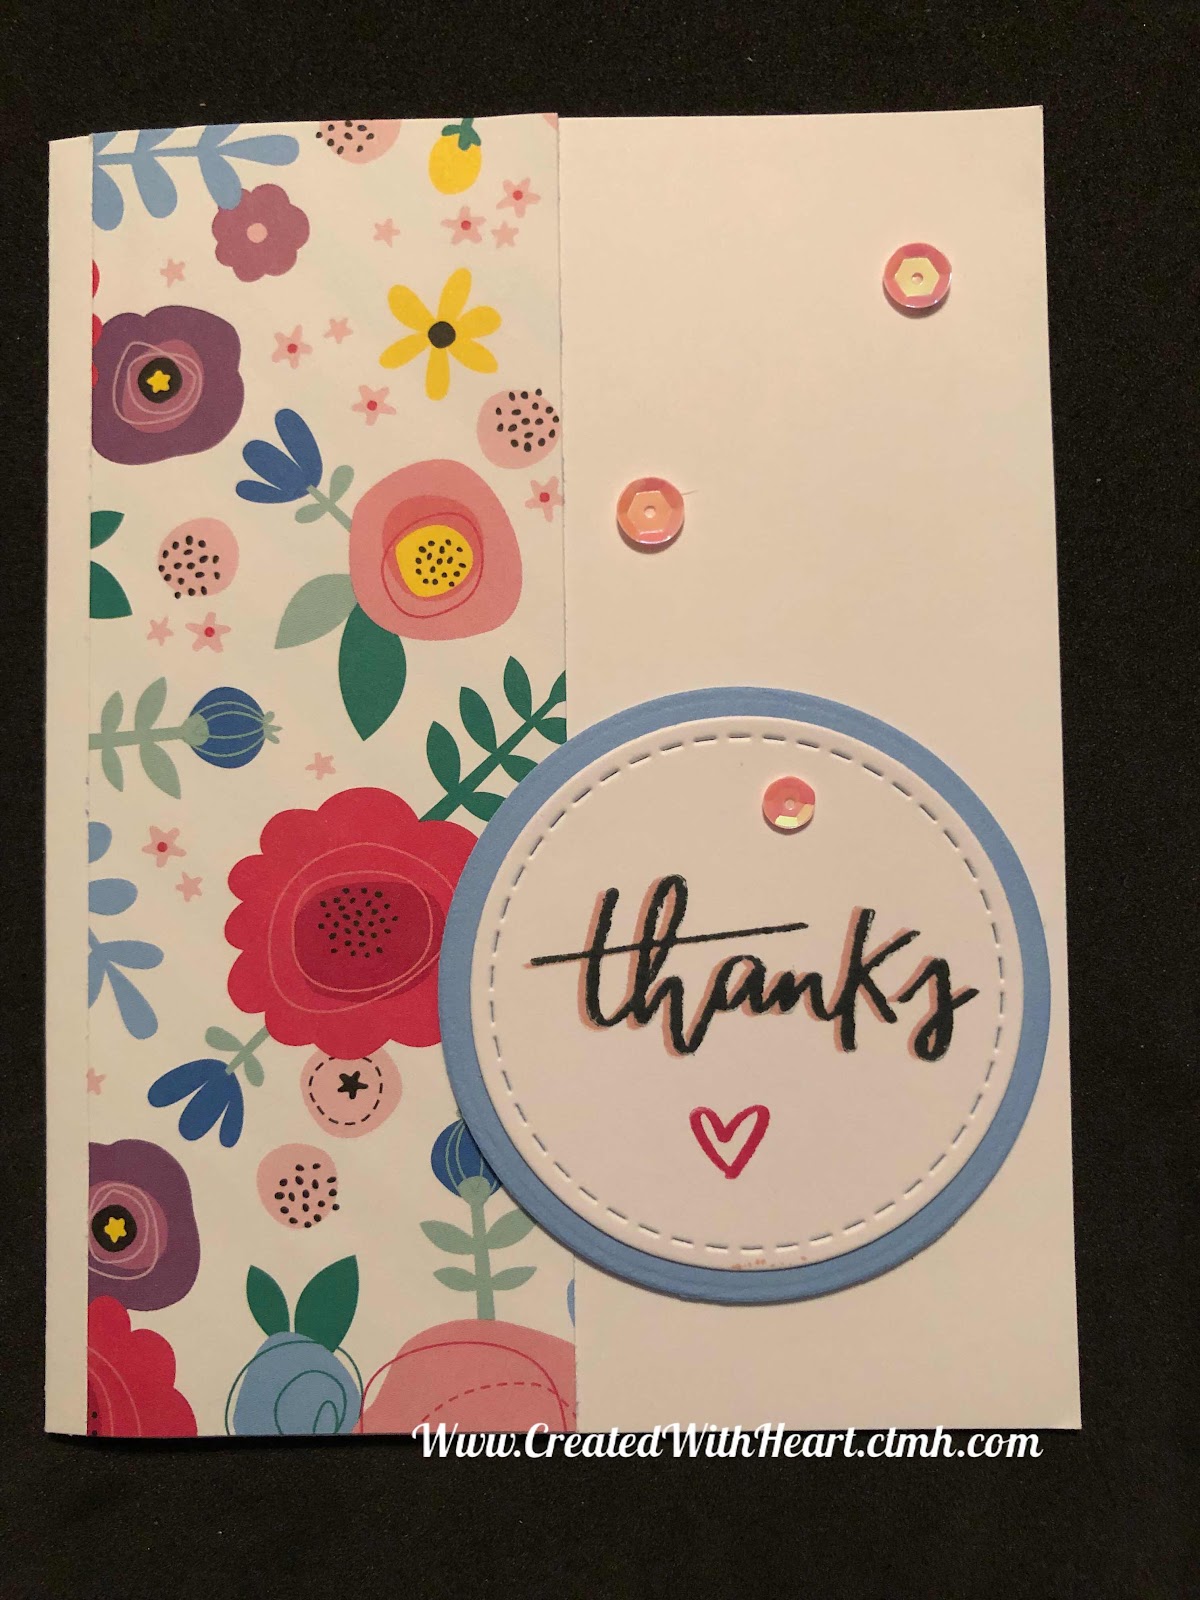
So here is my project for today:


I cut a piece of the Background and Texture Paper 11 1/2 x 9”, I scored the 11 1/2” side (this is butted up to the edge on the trimmer) at 4, 5 1/2, 9 1/2, 11”, then scored the 9” side at 1 1/2 and 7 1/2”. I also cut the paper (a few flaps off top, one corner off bottom and trim the bottom flaps up to the score line) to look like this:


I rounded the corners on the flap, adhered the 1/2” strip to the inside of ‘back’ of bag, adhered bottom flaps and just squished in the sides to close:


I am just using Tombow to close the bag, you could also use a Velcro circle if you want it to open and close again:


Just decorate and inset a fun gift! The bags are fun and easy to make! This paper and extras that come with it are so pretty and fun to play with! I hope you have as much fun as I am!

Hop on over to  Brenda Lapp’s Blog to enjoy more great projects.

If you like this kit (it really is great), then contact your Consultant. If you don’t have a Consultant I would love to help you out...you can see the different papers, stamp set, embellishments and stickers or even purchase it here. You can contact me here with any questions.

Thank you for stopping by and until next time, Create it with Heart,
Debi

Saturday, January 19, 2019

Something Fierce Featured Paper Blog Hop

Something Fierce Featured Paper Blog Hop

    Thank you for joining us on this Blog Hop with lots of ideas and tips for you using the Something Fierce Paper Pack. A Blog Hop is a 'circular' group of Blogs that you 'Hop' to (or click the link to) that will give you lots of tips, techniques and inspiration for the topic of the Blog Hop.  I hope you enjoy your time with us as well as the projects.
    If you came from Haley Dyer’s Blog you are on the right track!

    Here is my project for today:
    I decided to make a little treat box, it is 2 1/2” on each side So it is big enough for quite a few different goodies.


    This is the top with the sentiment 


    Here I tried it with a different sentiment


    This is the final version, I used cardstock for the base and then added the Background and Texture Paper.


    I cut the paper 10 1/2 x 7 1/2” 
    I then scored the 10 1/2” side (this side is butted up to the edge on the trimmer) at 2 1/2, 5, 7 1/2, 10”
    Then I scored the 7 1/2” side at 2 1/2, 5 and 7”


    Hop on over to Lauren Moore’s Blog to enjoy more great projects.

    Thank you for stopping by and until next time, Create it with Heart,
    Debi

Tuesday, January 15, 2019

Tag, You’re It! - CTMH Technique Blog Hop

Tag, You’re It! - CTMH Technique Blog Hop


Thank you for joining us on this Blog Hop with lots of ideas and tips for you.. A Blog Hop is a 'circular' group of Blogs that you 'Hop' to (or click the link to) that will give you lots of tips, techniques and inspiration for the topic of the Blog Hop.  I hope you enjoy your time with us as well as the projects.
If you came from Haley Dyer’s Blog you are on the right track!

I have needed some Sympathy cards for a while now, I am behind with things at the moment (It’s just the way my ball bounces)! So I thought this was a good stamp set to use, I just adore it!
Here is my project for today:


I used the Feels like Home paper pack, the Tag Thin Cut set, Charcoal Ink, Sage Ink (applied with water brush) and Sugarplum Ink. I also used the White Ribbon and Silver Embellishing Thread.
I am going to make a 5 x 7 version and see how that looks too!

Hop on over to Daryl’s Recker’s Blog to enjoy more great projects.

Thank you for stopping by and until next time, Create it with Heart,
Debi

Saturday, January 12, 2019

Seasonal Expressions 1 New Product Blog Hop

Seasonal Expressions 1 New Product Blog Hop


Thank you for joining us on this Blog Hop with lots of ideas and tips for you from the NEW Idea Book from Close to my Heart. A Blog Hop is a 'circular' group of Blogs that you 'Hop' to (or click the link to) that will give you lots of tips, techniques and inspiration for the topic of the Blog Hop.  I hope you enjoy your time with us as well as the projects.
If you came from Michelle Loncar’s you are on the right track!

I am in love with the first paper pack and Dino stamps in this Idea Book!
Living in Texas we have been to the Dinosaur World as well as stayed at a bed and breakfast in Granbury that has there own Dino’s!! So this will be SO awesome for our scrapbooks!
Today I chose a different route though, I don’t know about you but in my world, January means the start of lots of Birthdays!
I used Pattern 1 in the Volume 4 Make It from your Heart pattern book.

So here is my project today:


I used the Something Fierce - Cardmaking stamp set with the Something Fierce Paper Pack. I used Bluebird Ink, Charcoal Ink  and Clover Ink.
For the focal sentiment I inked up the image with sponge daubers and breathed on it to remoisten the ink just before stamping on the White Daisy cardstock (4 x  5 1/4”).


 I used my piece of ribbon as a guide to know how much room I had to stamp the image:


Then I stamped on the ribbon, added some banners from the paper pack that I trimmed and stapled the ribbon over the top of the banners. Then I used foam tape to adhere the panel to the Light side of Bluebird Cardstock and to the card front.


I used the star zip strip from the paper pack and stamped my sentiment with confetti inside:


This time I also needed a Ggoft Card holder so I cut Clover Cardstock to 5 5/8 x 4” (I typically cut at 6 x 4) and used the border Thin Cuts to cut a tear edge on the top (small) panel.


Fold on the score lines, add adhesive the sides of the bottom large section (approx. 1/4” on each side) and fold up to adhere. Adhere 1 3/4 x 3 3/4” paper to front panel, add gift card and seal closed (below the tear off portion).


I wanted to spruce it up a little, so I added a little belly band by wrapping the White Ribbon around the left edge and I adhered it with Tombow Tape Runner to itself (not to the gift card holder as I want them to be able to remove it before tearing off the opening)


I added a bow with a glue dot to cover the seam. Now it’s all ready to go!


Here I added some Silver Glitter Gems


This new Idea Book is filled with Great Fun! Check it out on your Consiltants website! (If you don’t have a Consultant, I would love to help you, visit my Website Here to see the Idea Book Here.) It is beautiful!


Hop on over to Marciava Warrell to enjoy more great projects.

Thank you for stopping by and until next time, Create it with Heart,
Debi


Thank You cards

Thank You! Here is a card that I have been sending to those who have shopped with me recently. It has a fun little technique that is SO easy...