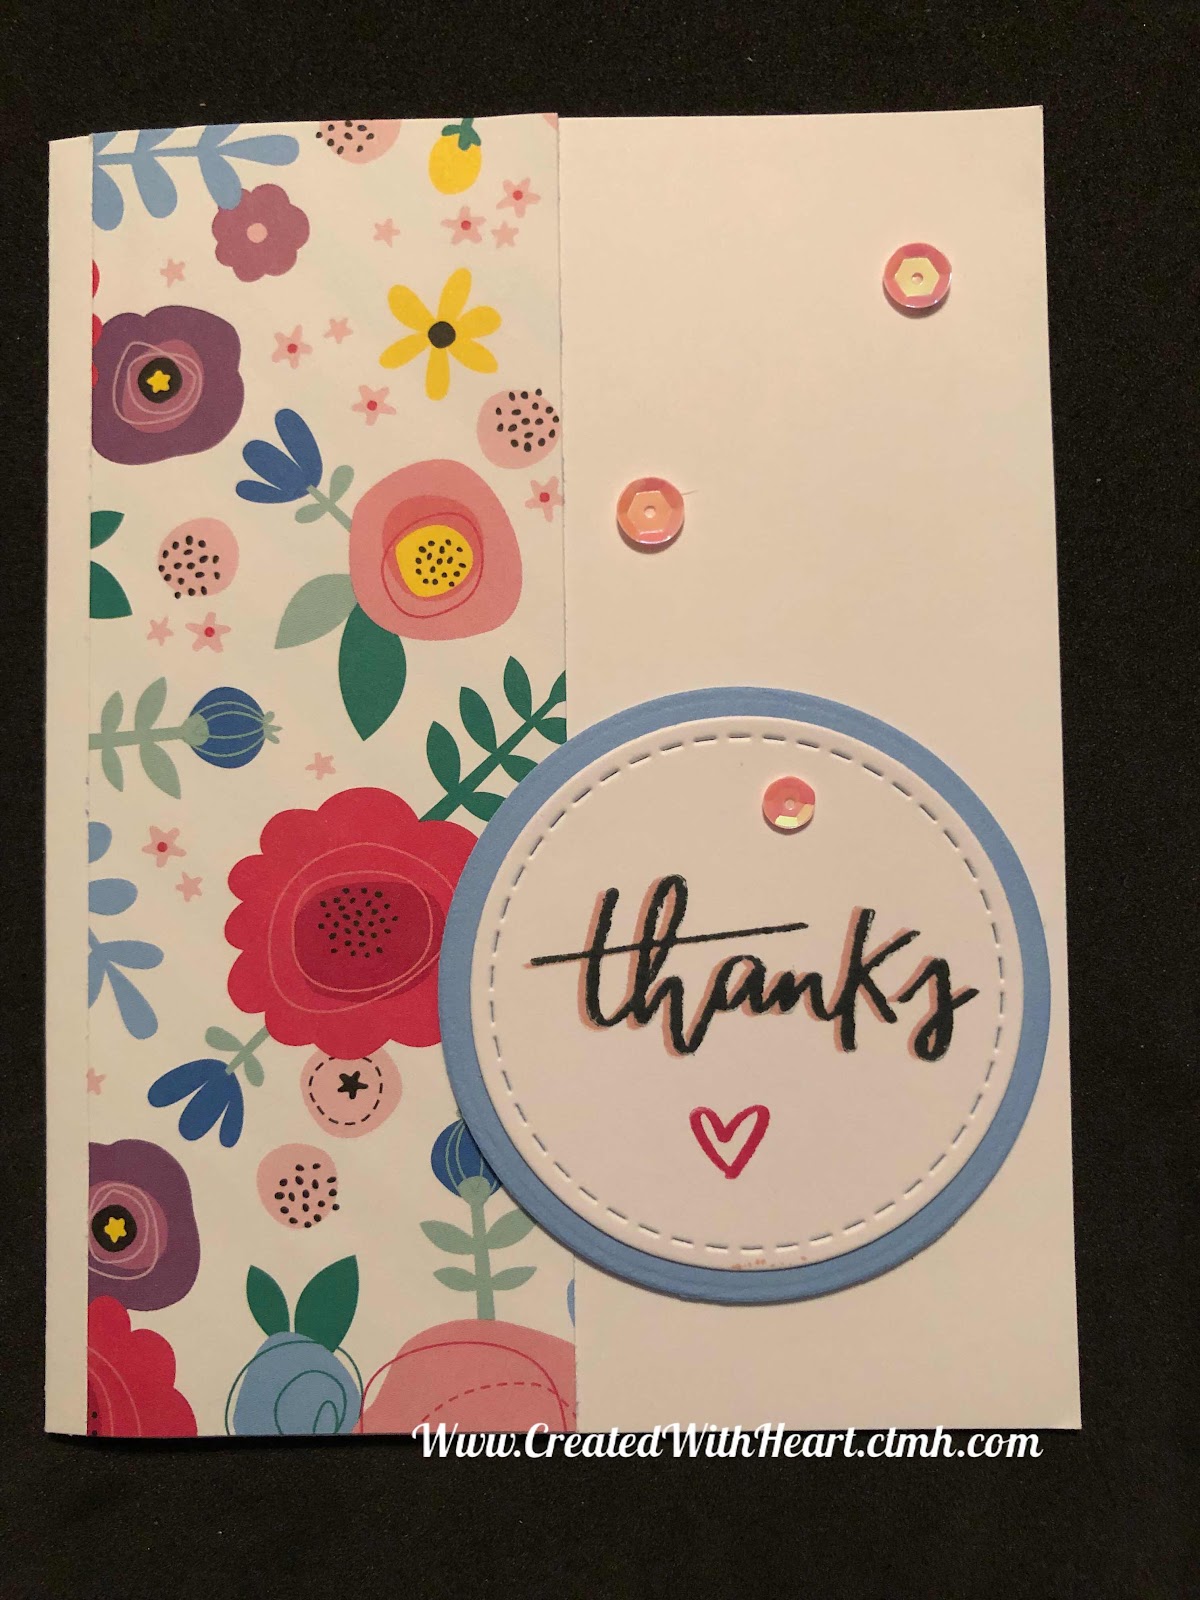
Here is a card that I have been sending to those who have shopped with me recently. It has a fun little technique that is SO easy!
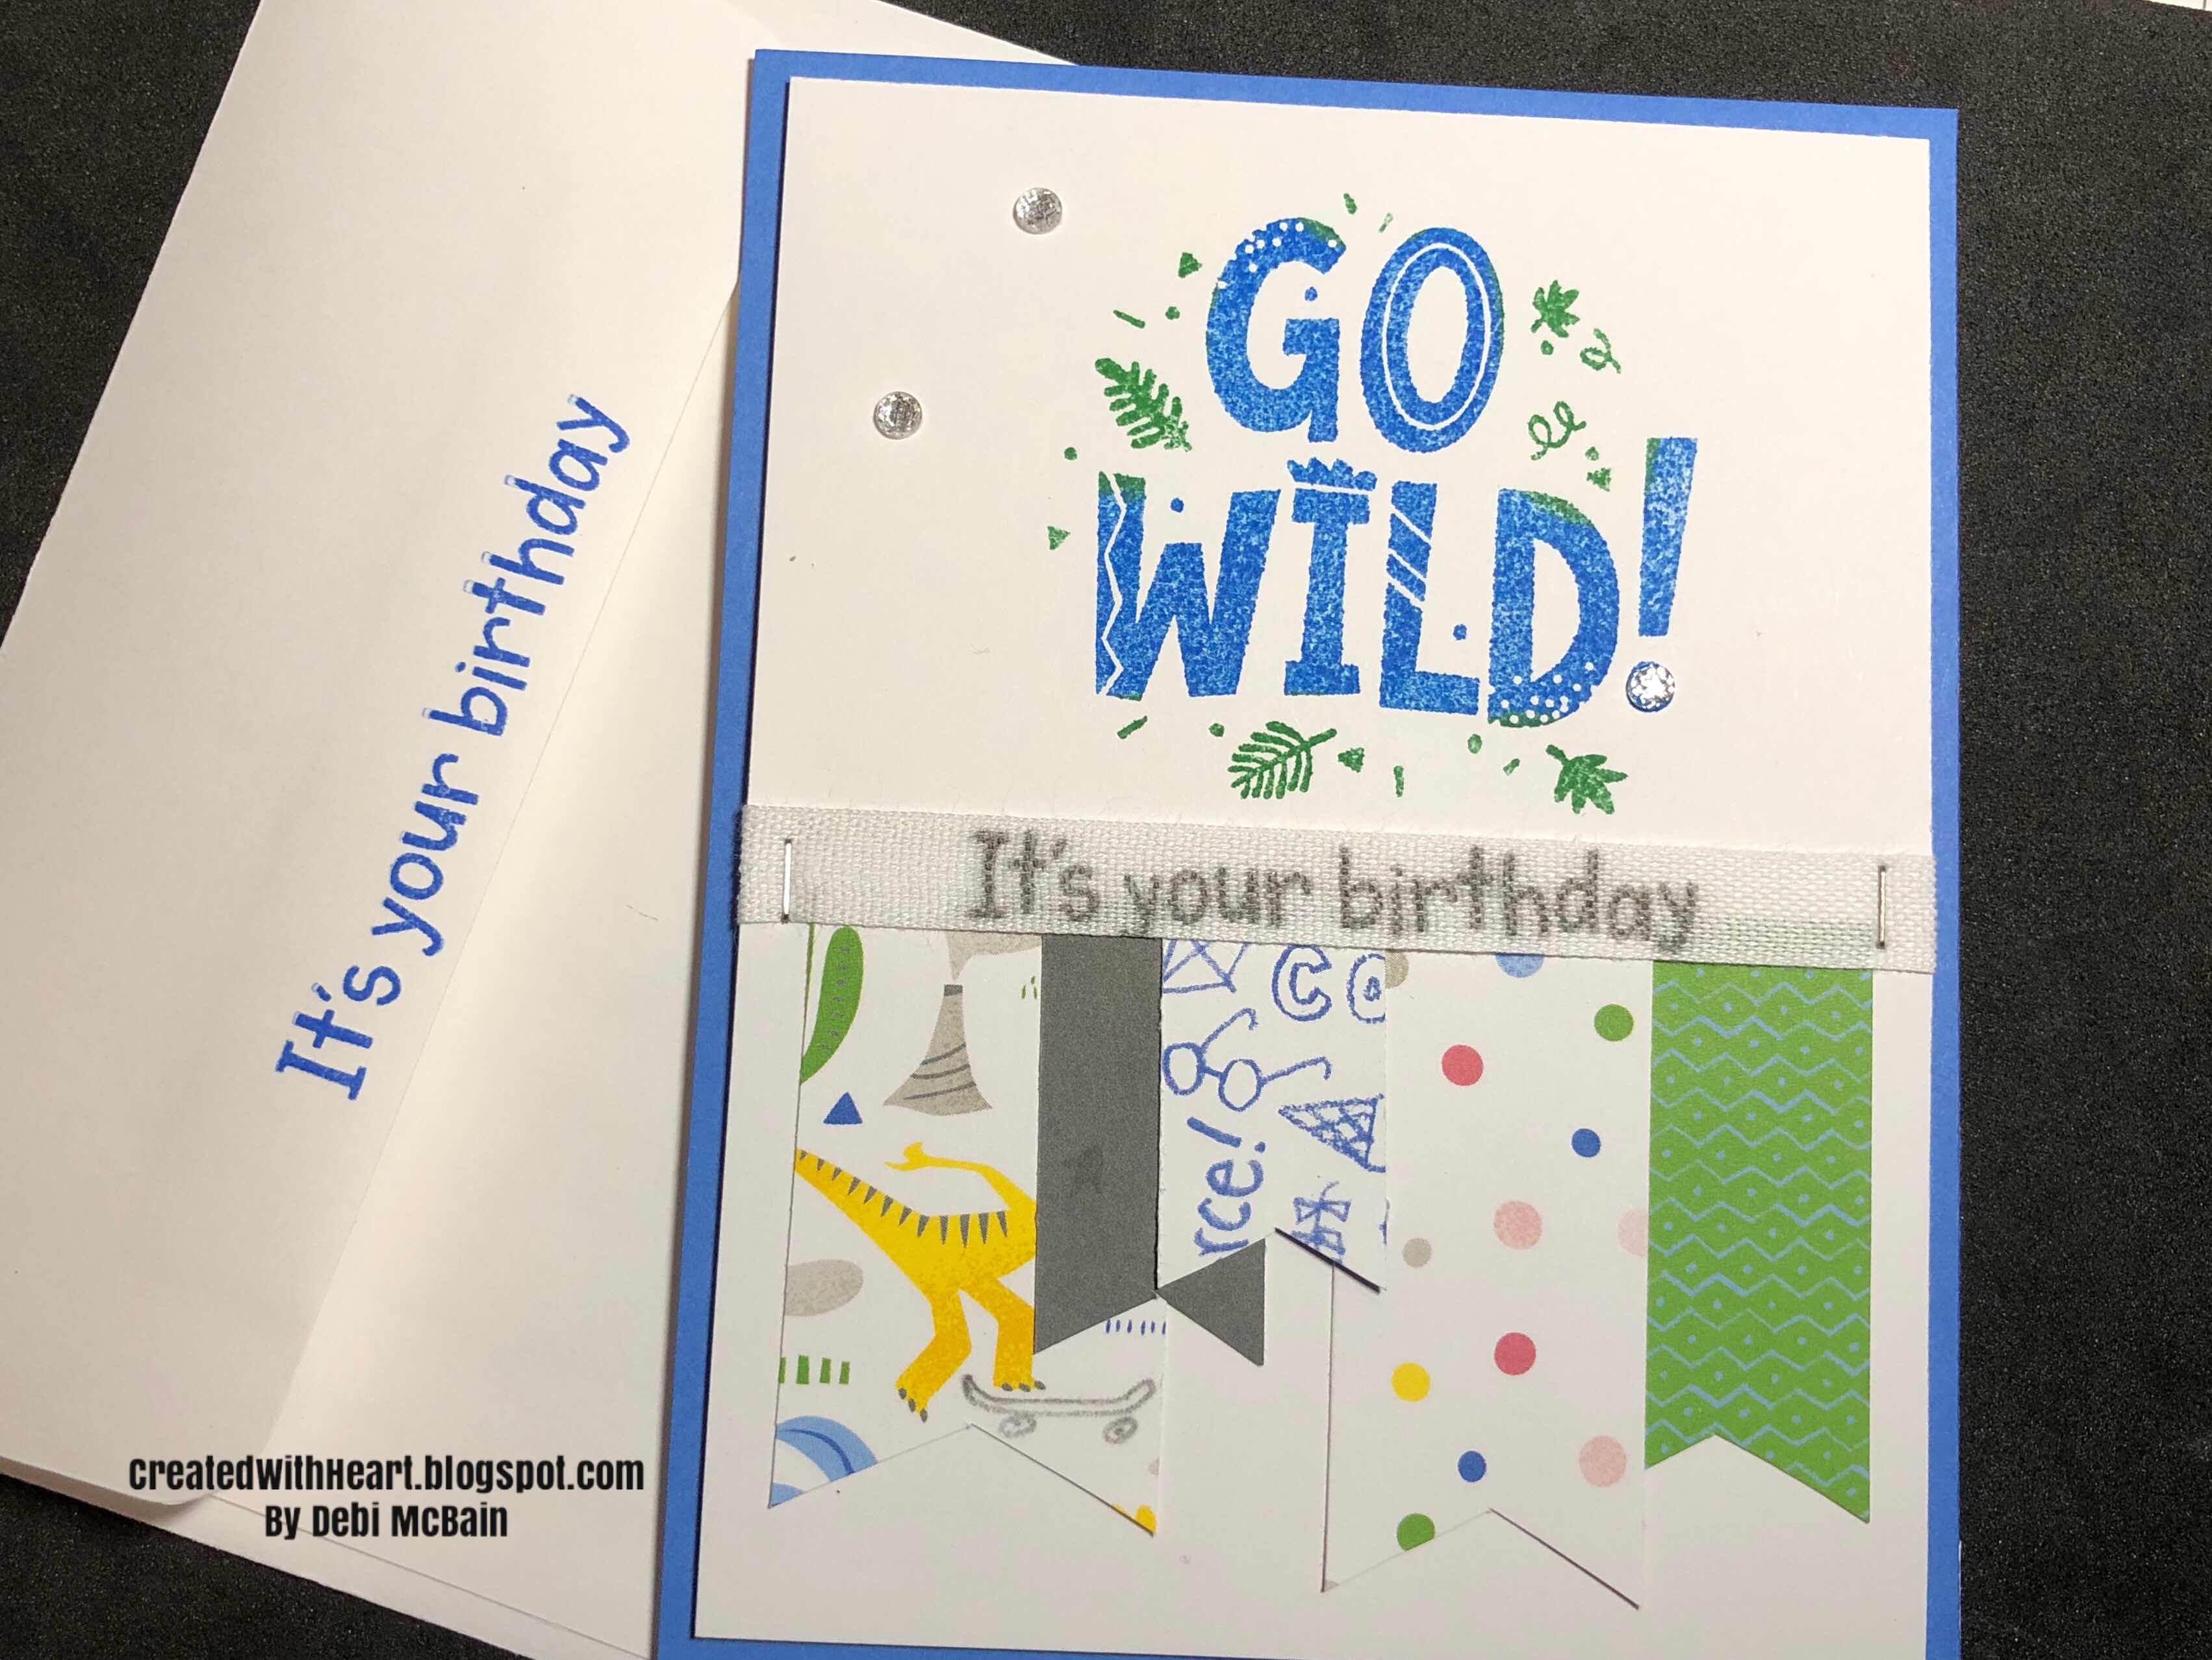
I popped up the sentiment and added some fun little sequins.
Here is the technique:
Stamp the first color (I do the lighter color on the bottom and stamp it first)
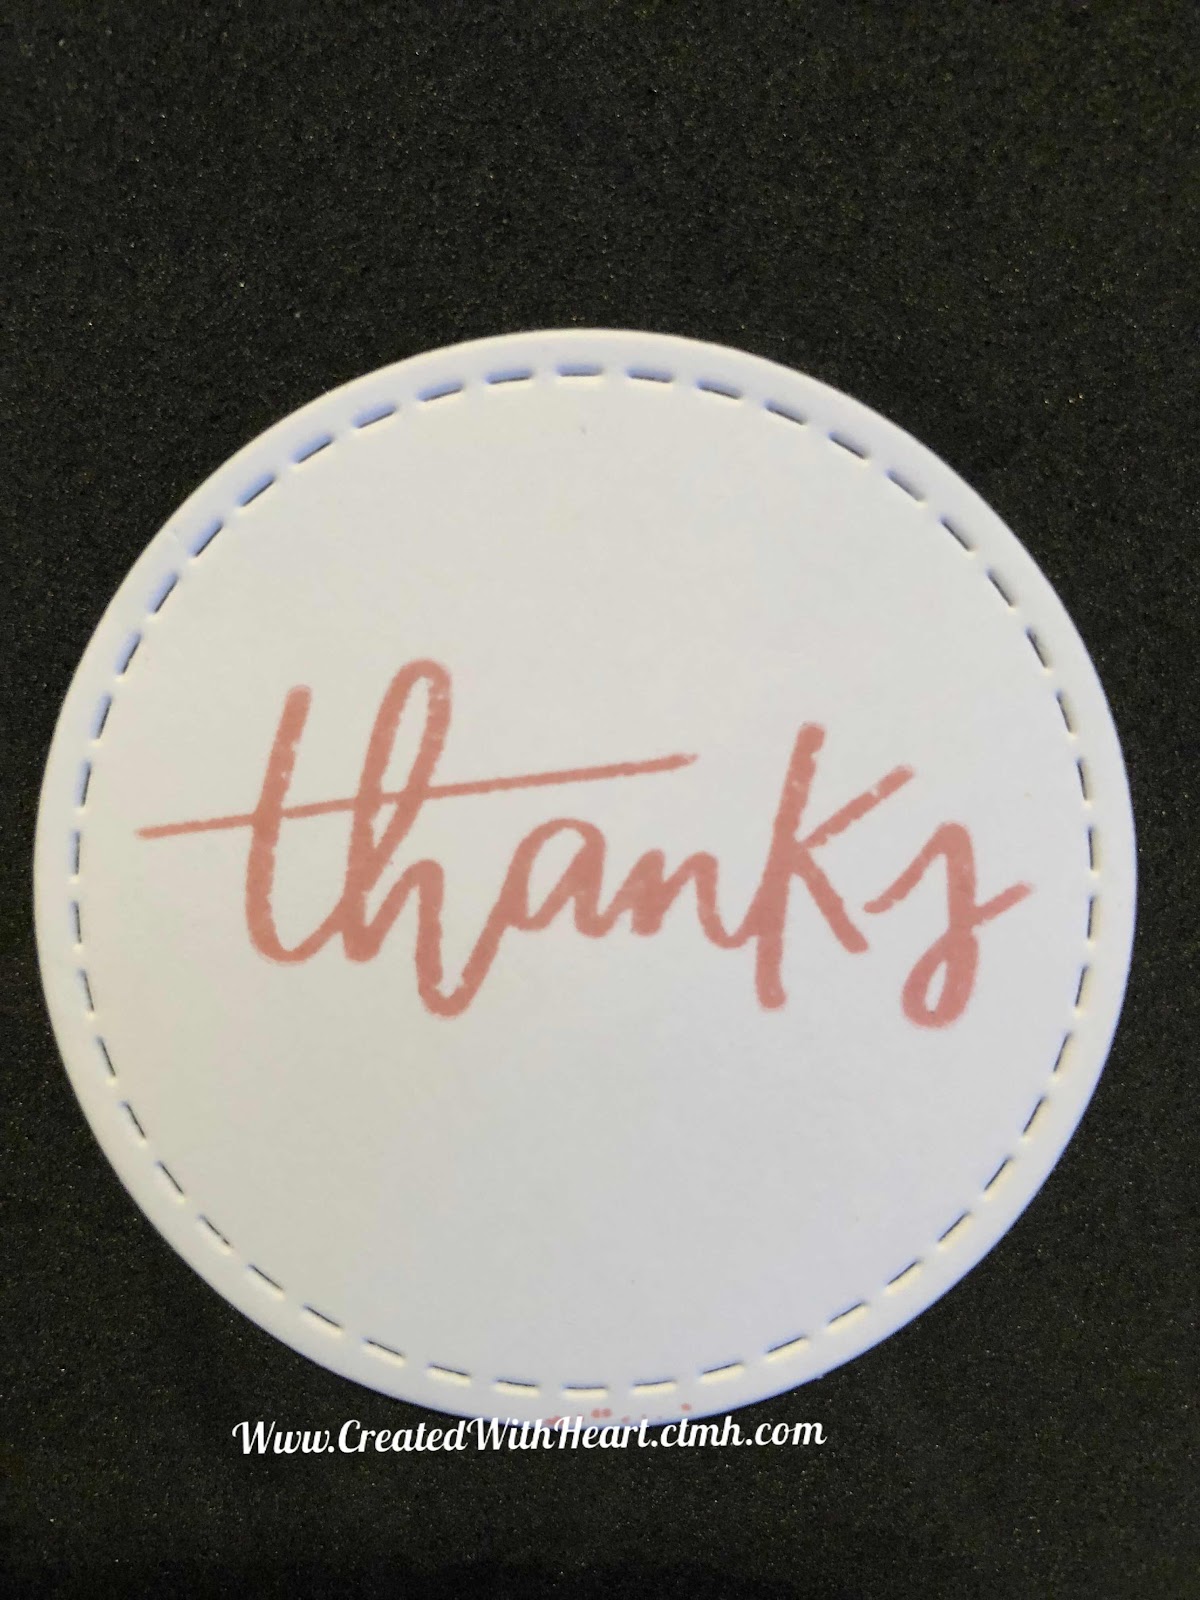
Then stamp the second (Darker) Color over the first and slightly off to the right .
The lighter color makes a fun little shadow effect and also POps the sentiment a little.

Here is another sample:

It really is quick and easy, give it a try and I would love for you to comment and let me know how you like it! Add a picture too!
Remember to Create it with Heart,
Debi