Clubs

Showing posts with label Epressions 1 2018. Show all posts

Friday, March 2, 2018

Die-Namite!


March 1, 2018 (12:01 am MST) – March 31, 2018 (11:59 pm MST), While supplies last (be sure to get yours early!!)
Save 25% on a wide selection of Thin Cuts dies and 30% on select Thin Cuts bundles! Thin Cuts are an easy way to add shapes, titles, and sentiments to any project — no scissors required! WOW! How amazing is this Special!?! 


Host a party and when you reach the third level of Hostess Rewards you can add a free Thin Cuts die to your Host Rewards (an added $13.95 value for FREE!). Choose from these Thin Cuts — Celebrate (Z3256), Family (Z3258), or Hi There (Z3259). 


Join the FUN and our Team to become a Close To My Heart Consultant in March and you will receive a free Thin Cuts die in your New Consultant Kit (an added $13.95 value for FREE!). Choose from these Thin Cuts — Celebrate (Z3256), Family (Z3258), or Hi There (Z3259). 


Let me know if you have any questions, I will be happy to help you or just get you the answers you need to make an informed decision. Contact me 
Here.

Visit my shopping site here to get your Thin Cuts deal!

Be sure to check back this month to see which Thin Cuts I use!
Leave me a message below and let me know which Thin Cuts you are getting!
Until next time...Remember to Create it With Heart,
Debi


Wednesday, February 28, 2018

March Madness!!

Hello,

Thanks so much for joining me today!
Well, can you believe it’s March already!?! I can’t.

How many of you are tired of winter?? Well, the good news is that I’m creating for Spring now!! A New month means New Ideas and inspiration...

Starting with the Oh SO Cute Stamp of the Month! This is Birthday Time Stamp Set (S1803,   $17.95), only available March 1-31, 2018 or while supplies last, so be sure to get yours early!


Set of 26 Stamps
Recommended My Acrylix® blocks to use with this set:
1" × 1" (Y1000), 2" × 2" (Y1003), 1" × 6½" (Y1005), 3" × 3" (Y1006)


Aren’t these awesome? I think they are just Fabulous and so Fun for Birthdays!

This stamp set can be used for so many fun things, I’m seeing kids (young and old) birthday gift bags and cards, shaker cards, Celebration projects, invitations...
Be sure to check back during the month as I will be posting the Fun things I Create with this set!

Did you know that this set can be yours for just $5.00 with a $50 purchase on my shopping site Here!

Let me know if you have any questions and be sure to comment below and let me know how you like this stamp set!
Until next time...Remember to Create it from your Heart,
Debi

Saturday, January 20, 2018

Featured Paper Blog Hop-Chelsea Gardens

CTMH Featured Paper Blog Hop-Chelsea Gardens


Thank you for joining us on this Blog Hop with lots of ideas and tips for you while using the Chelsea Gardens paper.. A Blog Hop is a 'circular' group of Blogs that you 'Hop' to (or click the link to) that will give you lots of tips, techniques and inspiration for the topic of the Blog Hop.  I hope you enjoy your time with us and enjoy the projects.
If you came from Shirley Ross's Blog you are on the right track!

Here is my project for today:


I was going for a manly box that would be good for a Valentine gift.

I also made it with the scallop edges, SO Cute!


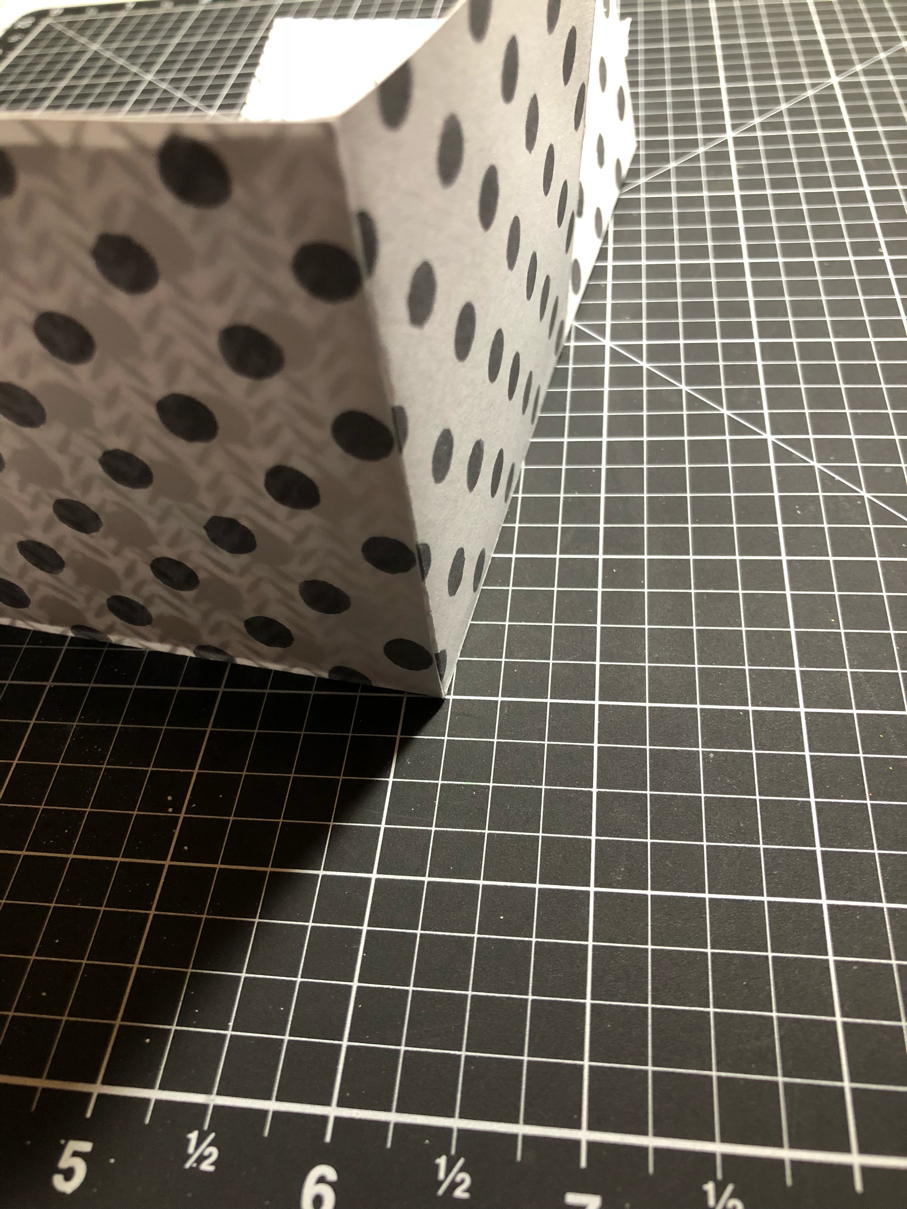
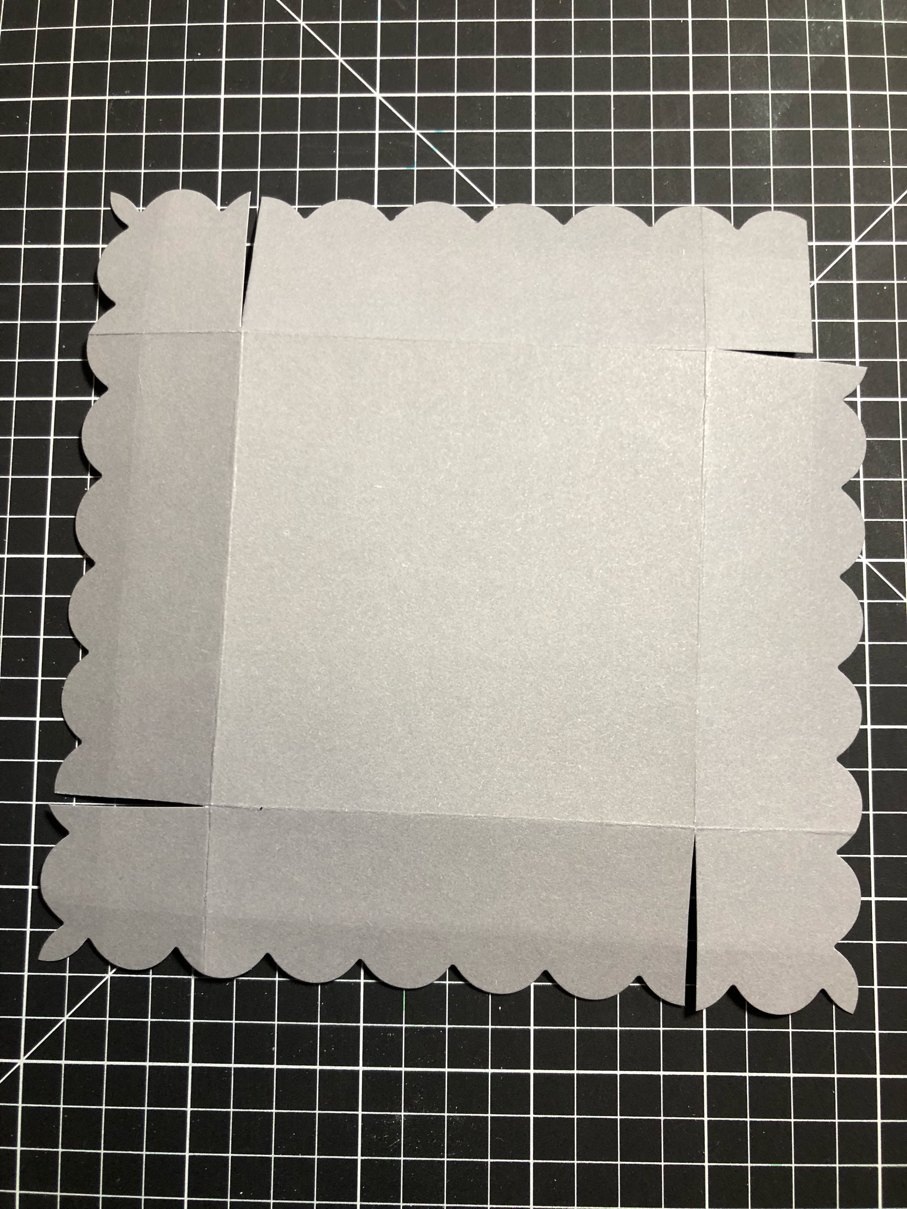
Cut paper 9x9 and score at 3” all around


I cut up two opposing sides and metered each as well as cut a bit off each end (ONLYon the corners, so they fit inside your box nicely).


Then adhere corners inside your box being sure to line them up at the corners.


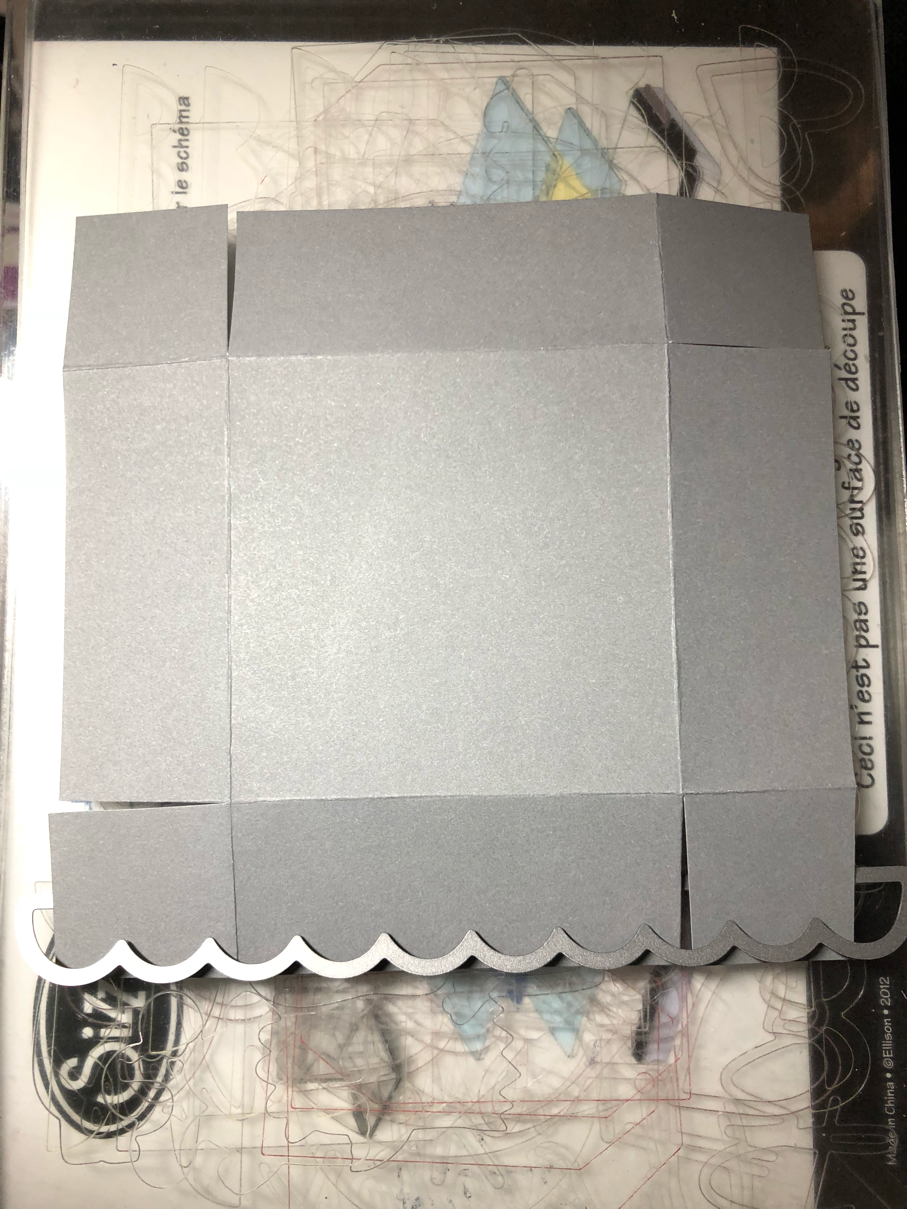
The scallop top is put together the same way with the difference of using the Scallop border Thin Cut to cut the edges before adhering together.


Place the Cardstock through the middle of the thin cut with the scallops on top (you only want to cut the scallops out, not the entire border), placing them at the edge of each side to cut.


It looks a little funky when it comes out....one tip: be sure to cut the end off before adhering so it doesn’t show through your scallops (this May be easier to do before you cut the scallops, or as you adhere each corner so you know which side to cut).


I wanted to keep this simple for a guy, so I added the Whisper extra thick twine along with a tiny Thin Cut Basic Tag stamped in Ruby with the CO from the ‘I made this’ stamp set.


I’m sure the new Light Grey Ribbon would be perfect also!
I hope you enjoyed this project.

Hop on over to Julie Scott’s s Blog to enjoy more great projects.

Thank you for stopping by and until next time, Create it with Heart,
Debi

Thank You cards

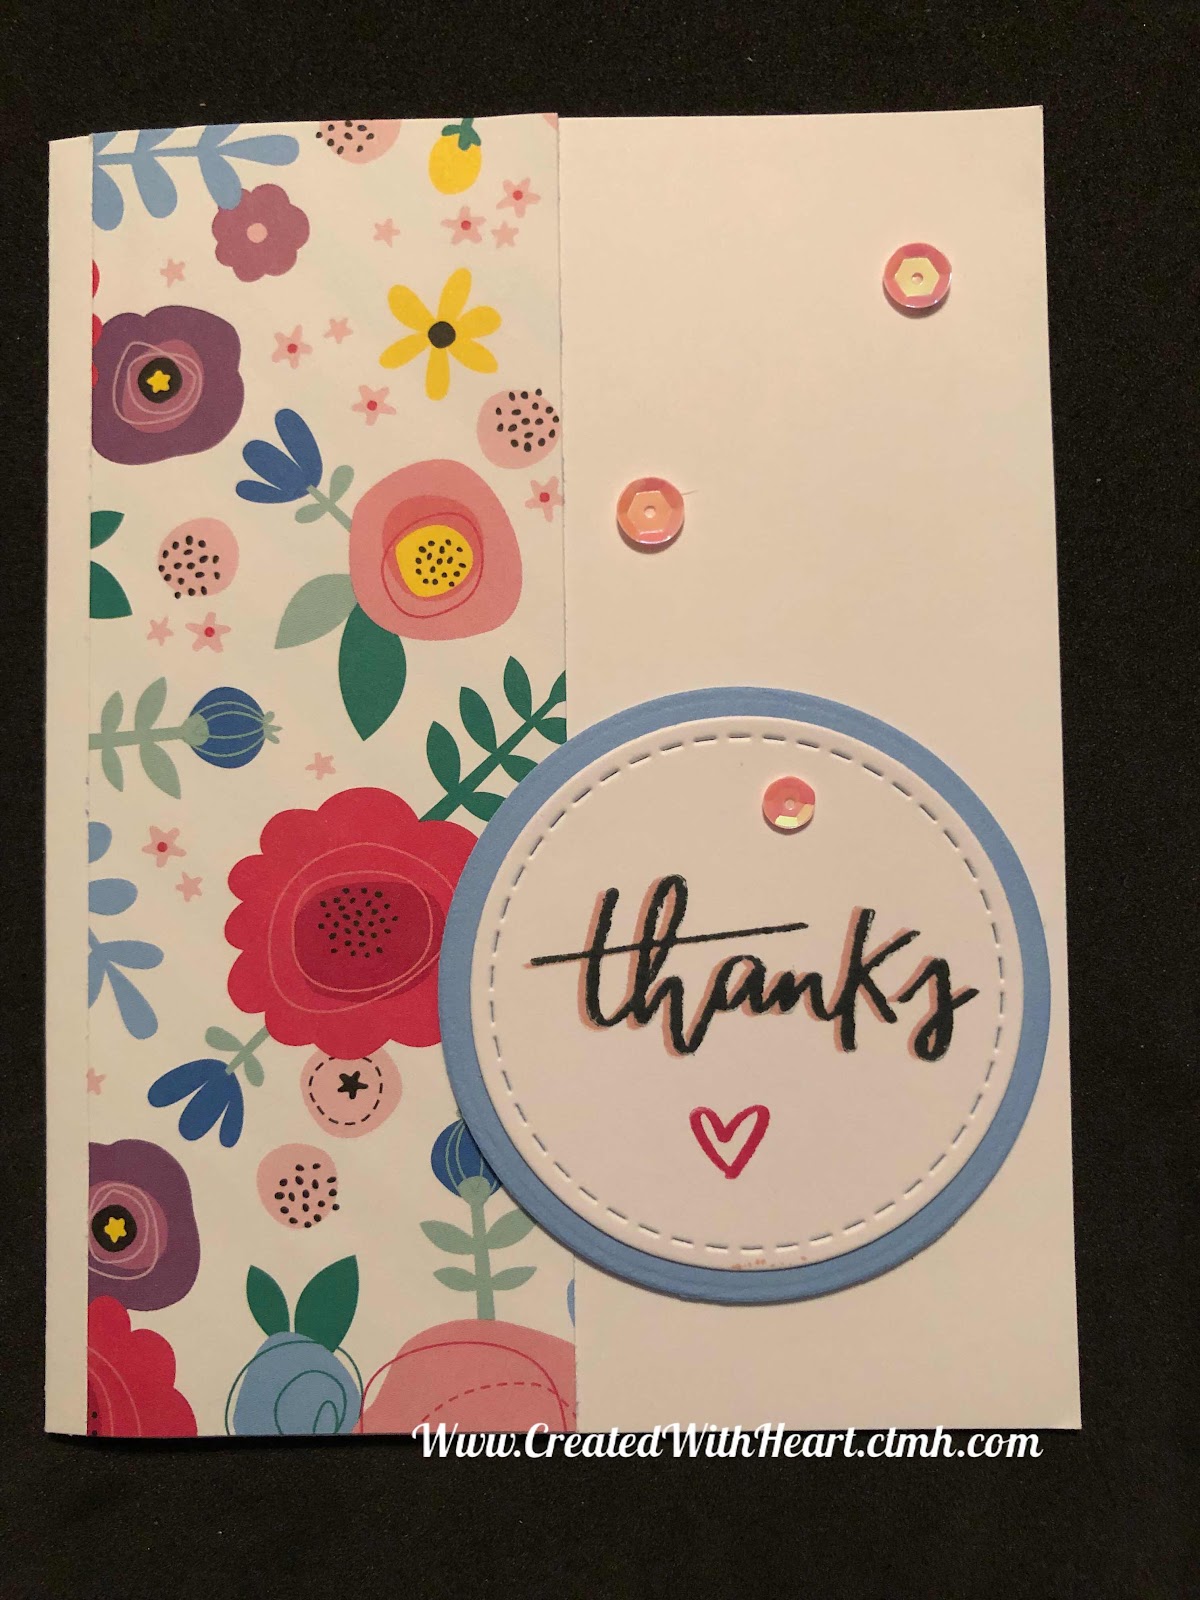
Thank You! Here is a card that I have been sending to those who have shopped with me recently. It has a fun little technique that is SO easy...