Clubs

Showing posts with label Paper Pack. Show all posts

Saturday, February 16, 2019

I Heart Us Featured Paper Blog Hop

I Heart Us Featured Paper Blog Hop


  1. Thank you for joining us on this Blog Hop with lots of ideas for you using the I Heart Us paper packet.
     A Blog Hop is a 'circular' group of Blogs that you 'Hop' to (or click the link to) that will give you lots of tips, techniques and inspiration for the topic of the Blog Hop.  I hope you enjoy your time with us as well as the projects.
    If you came from Haley Dyer's Blog you are on the right track!

    I like rainbows so it's a good possibility that I love this paper pack! I used the Stamp of the Month 'Heartfelt Sentiments' and the Color of the Year 'Sugarplum'.
    Here is my project for today:


    I love the Heart pattern, I'm pretty sure it's not just because Valentine's Day has just passed, the pewter color speaks to me also and such a great pairing with the Sugarplum. I used Sage ink with a waterbrush for the leaves and the Sugarplum Shimmer Brush (which I tried to show in the second picture, it's so hard to get the sparkly fun in photos). I popped up the ribbon sentiment with foam tape.
    This is a very clean and simple card and I think it turned out great.

    Please ask your consultant for more information on our awesome pattern papers and cardstock! If you don’t have a consultant I would love the chance to earn your business, contact me or visit my website for pictures and pricing for the current products offered Here.
    Hop on over to Lauren Moore's Blog to enjoy more great projects.


    Let me know how you like the project by leaving a comment below. I would like to know if you would like to see more cards like this.

    Thank you for stopping by and until next time, Create it with Heart,
    ❤️ Debi

Saturday, September 15, 2018

Boutique Featured Paper Blog Hop

Boutique Featured Paper Blog Hop


Thank you for joining us on this Paper Pack Blog Hop with lots of ideas and tips for you while using the Boutique Pattern Paper and Collection. 
A Blog Hop is a 'circular' group of Blogs that you 'Hop' to (or click the link to) that will give you lots of tips, techniques and inspiration for the topic of the Blog Hop.  I hope you enjoy your time with us as well as all the projects.
If you came from Brittany Allred's Blog you are on the right track!

Here is my project for today:
I did a fun little card that also includes the new Color of the year, Sugarplum:


I centered the Cardstock and pattern paper on the front of the card base (opens to right side). Then for the sentiment base piece I centered the pink watercolor patter, however, you will notice that I left the top and bottom at 1/4” each of white showing and only 1/8” (to match the card sides) showing on the ends.
I also wrapped the Peacock word patter strip around the center of the pink piece and secured it on the back.


I stamped the sentiment (From the STAMP of The Month, S1809 Just Treats) in Peacock Ink and colored the ‘fat’ parts of the letters with the Sugarplum Shimmer brush, as well as the drops. I stamped the candies in black ink and the inside with Sugarplum. I then colored the candies (from D1806 Hello Pumpkin Stamp Set) with the Sugarplum Shimmer Brush, on the inside stripes and halfway on the wrapper ends (I just squiggled lines to try and match the wrapper end and then colored it in). I added 3 Bitty diamonds on the sentiment piece (by the droplets).
I adhered the sentiment at an angle to the pink strip and popped up the candies with thin pop dots.


Here you can see the shimmer:


I hope you like my project today. Here are the dimensions for the card pieces:
White card base (open to right side) closed 5 1/2 x 4 1/4”
Sugarplum Cardstock 5 3/8 x 4 1/8”
Sugarplum Cardstock 2 3/4 x 2 1/4”
Boutique Rose Pattern 5 1/8 x 3 7/8”
White Daisy Cardstock 2 x 4 1/4”
White Daisy Cardstock 2 1/2 x 2” (for sentiment)
Scrap White Daisy Cardstock (candies and cut out)
Boutique Pink Watercolor Pattern 1 3/4 x 4 1/8”
Boutique Peacock Word Pattern strip 1/2 x 5”

Hop on over to Carols Blog to enjoy more great projects.

Thank you for stopping by and until next time, Create it with Heart,
Debi

Saturday, January 20, 2018

Featured Paper Blog Hop-Chelsea Gardens

CTMH Featured Paper Blog Hop-Chelsea Gardens


Thank you for joining us on this Blog Hop with lots of ideas and tips for you while using the Chelsea Gardens paper.. A Blog Hop is a 'circular' group of Blogs that you 'Hop' to (or click the link to) that will give you lots of tips, techniques and inspiration for the topic of the Blog Hop.  I hope you enjoy your time with us and enjoy the projects.
If you came from Shirley Ross's Blog you are on the right track!

Here is my project for today:


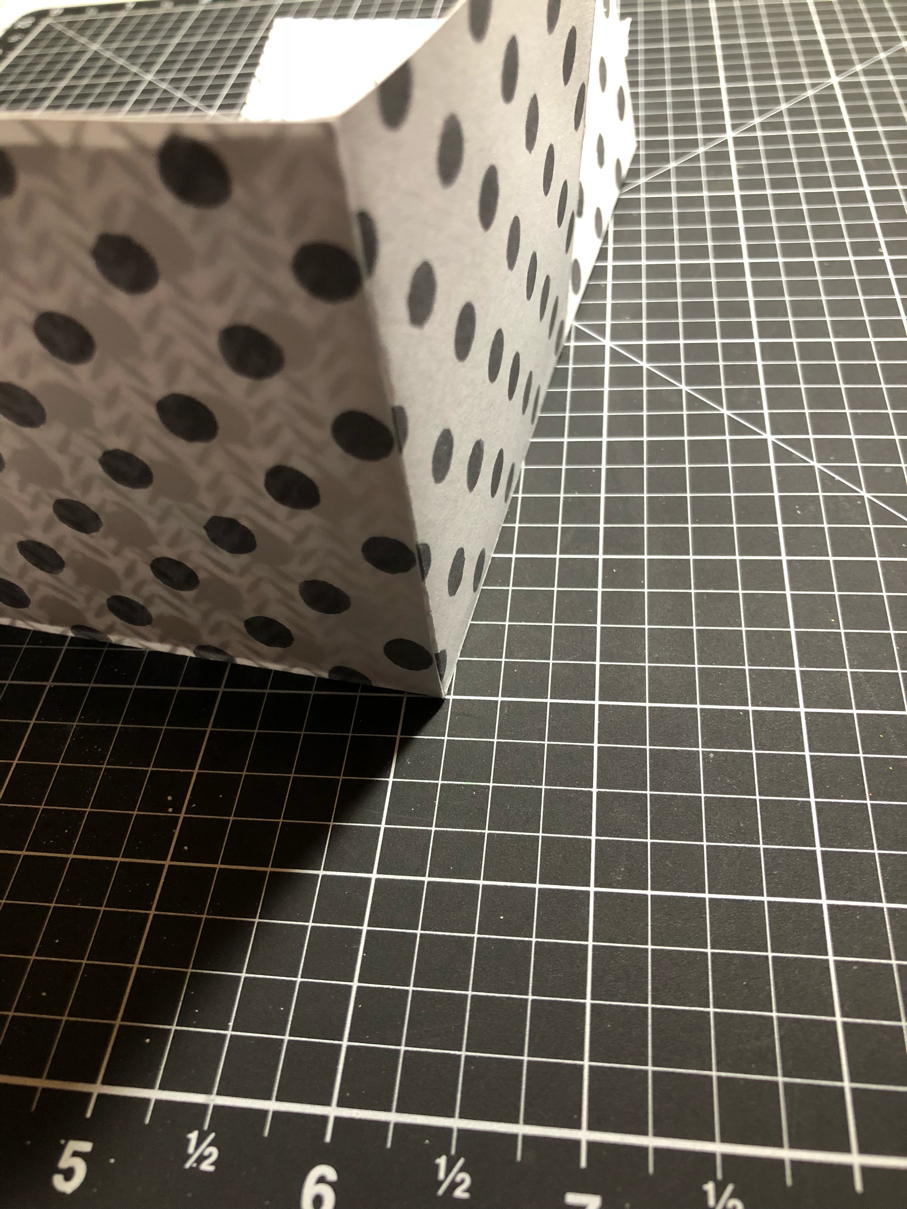
I was going for a manly box that would be good for a Valentine gift.

I also made it with the scallop edges, SO Cute!


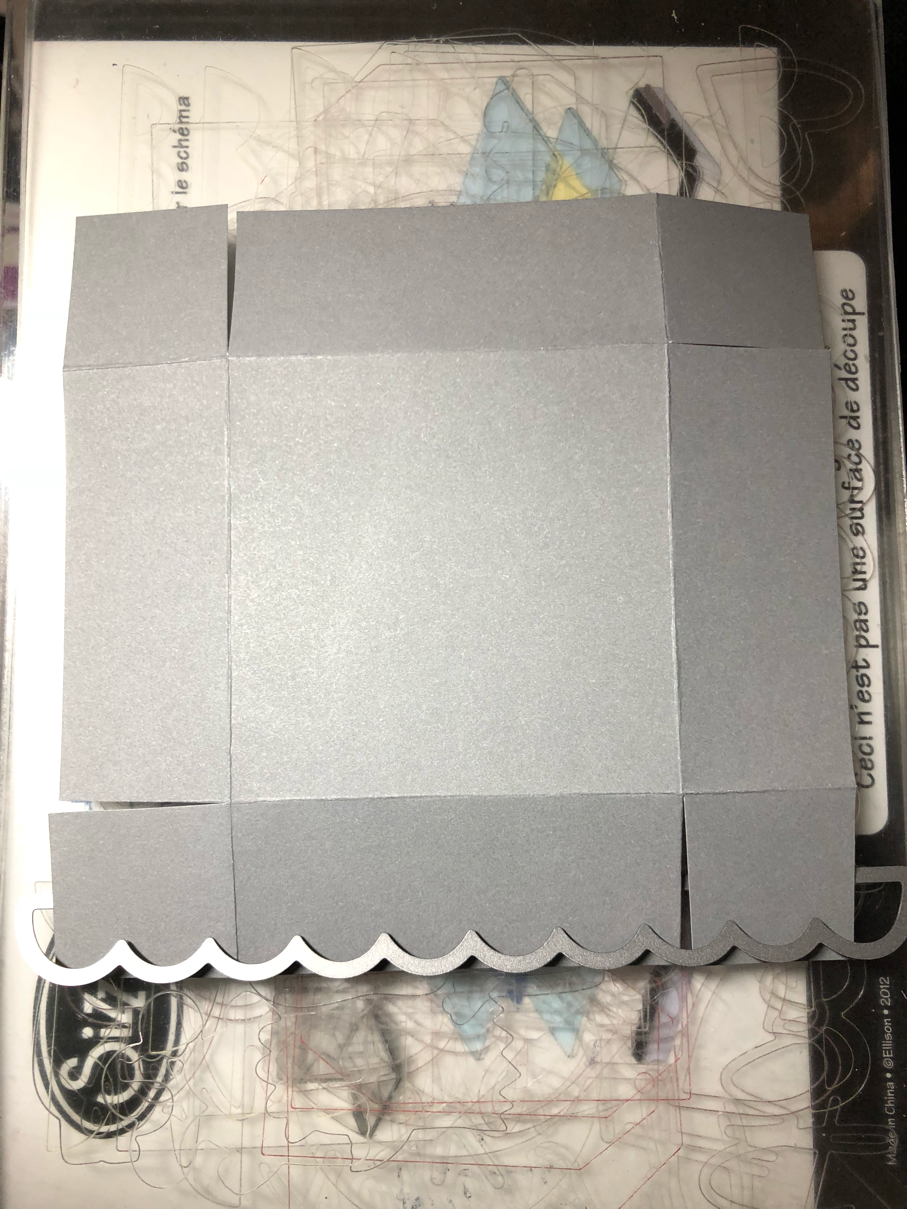
Cut paper 9x9 and score at 3” all around


I cut up two opposing sides and metered each as well as cut a bit off each end (ONLYon the corners, so they fit inside your box nicely).


Then adhere corners inside your box being sure to line them up at the corners.


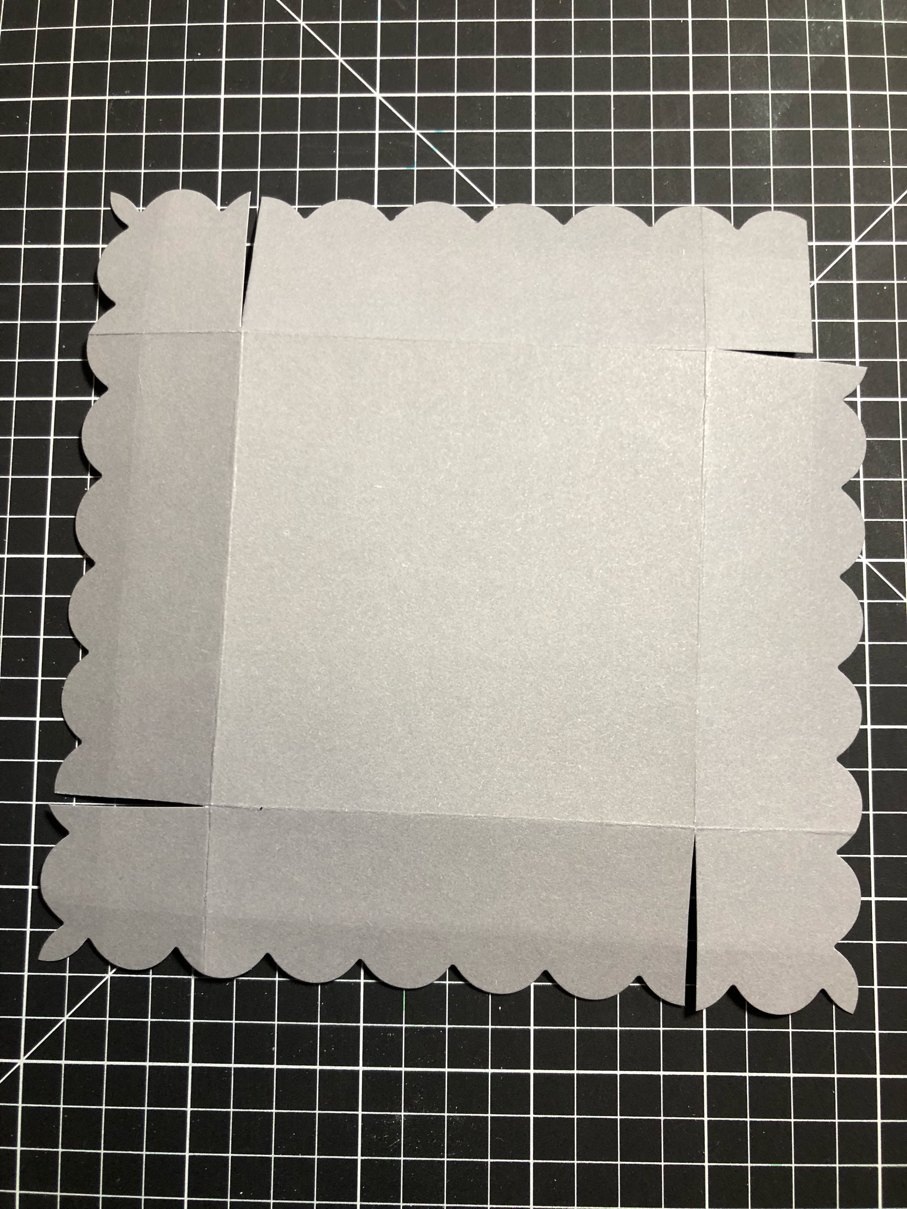
The scallop top is put together the same way with the difference of using the Scallop border Thin Cut to cut the edges before adhering together.


Place the Cardstock through the middle of the thin cut with the scallops on top (you only want to cut the scallops out, not the entire border), placing them at the edge of each side to cut.


It looks a little funky when it comes out....one tip: be sure to cut the end off before adhering so it doesn’t show through your scallops (this May be easier to do before you cut the scallops, or as you adhere each corner so you know which side to cut).


I wanted to keep this simple for a guy, so I added the Whisper extra thick twine along with a tiny Thin Cut Basic Tag stamped in Ruby with the CO from the ‘I made this’ stamp set.


I’m sure the new Light Grey Ribbon would be perfect also!
I hope you enjoyed this project.

Hop on over to Julie Scott’s s Blog to enjoy more great projects.

Thank you for stopping by and until next time, Create it with Heart,
Debi

Wednesday, October 4, 2017

How about some Chrtistmas Tunes?

The exclusive stamp set special for October is Christmas Tunes. Here are two of the stamps, the snow globe and the Christmas tree:


Aren't they so Cute!?! I am SO ready for the cooler weather to get here! So simple and elegant fun for Christmas.

You can view the entire stamp set on my website here. We will definitely be having fun with this set during the month!

This set is available ONLY October 1-31, 2017 and ready to purchase on my website for $17.95 OR you can purchase $50 in products and get this special stamp set for only $5.00. That's a great deal!

Item number S1710, set of 7
Recommended Blocks:
Y1003 (2x2)
Y1009 (2x3 1/2)
Y1012 (4x5) 
 4¼" x 5½" Snow Globe Card - a Vertical card base Supplies:

S1710 My Acrylix® Christmas Tunes—October Stamp of the Month
X7225B Beary Christmas Paper Packet
1385 White Daisy Cardstock
Z2831 Charcoal Exclusive Inks™ Stamp Pad
Z1263 Bitty Sparkles
Z3364 Basics Ribbon Pack
Z3132 Watercolor Paints
Z3226 Waterbrush—Medium Flat
Z3293 Shimmer Brush—Clear
Z1151 3-D Foam Tape

5" x 7” Happy Holiday Card - a Vertical card base Supplies:

S1710 My Acrylix® Christmas Tunes—October Stamp of the Month
X7225B Beary Christmas Paper Packet
1385 White Daisy Cardstock
Z3239 Silver Glitter Paper
Z2835 New England Ivy Exclusive Inks™ Stamp Pad
Z1263 Bitty Sparkles
Z2448 ShinHan™ Touch Twin™
Carmine Marker
Z3293 Shimmer Brush—Clear


I hope you enjoyed the cards above and I will be back with more of this set during the month!
Until next time, Create it with Heart,
Debi

Supplies can be purchased from your Consultant (if you don't have a Consultant, I would love to earn your business! You can visit my shopping site Here! You can check out the catalog online there and send me an email/comment below for any questions I can help you with).

Saturday, November 5, 2016

CTMH Paper Blog Hop - City Sidewalks


Welcome to our CTMH Paper Blog Hop with City Sidewalks Paper! This Hop is a circle of FUN ideas and inspiration with The Heartfelt Sentiments Team.

If you are coming from Anna's Blog, you are on the right track. We hope you are getting a lot of great ideas for this FUN paper pack!

I wanted to make this little book and this paper pack was PERFECT!! I also used the Pretty Poinsettia (B1540) Stamp Set and Cranberry Stamp Pad:


But wait...there's more! This little book makes a great gift too! With a fun little lip gloss inside it makes a great gift for teachers, Sunday school, sisters, friends, anyone really! It's small enough to make several out of one sheet of cardstock and one sheet of paper too, that's always awesome.


SO FUN. I really like this little gift book and it's just a little something that is different than candy!

This is the last stop on the Hop, however, if you didn't start at the begining or wish to continue back through...visit Melissa's Blog.

Directions for this little beauty will be posted soon! So check back again.
Debi

Monday, September 5, 2016

CTMH Paper Blog Hop - Jeepers Creepers


Welcome to our Jeepers Creepers Blog Hop! If you came from Katy's Blog, you are on the right track. We hope you enjoyed all the creative goodness everyone had to share this month!

The Jeepers Creepers paper pack is SO FUN! I'm not that big on Halloween but this paper can be used for SO many other things too! That being said...I just love the spooky eyes paper! I just had to use it on a card!

My card uses the Spooky eyes paper cut at 5 1/2 x 4 1/4" (be sure to watch the direction of the eyes when cutting the paper). Adhere this piece to the front of a White Daisy card base.

Next cut a piece of Pansy Cardstock at 4 1/2 x 3 1/4" and adhere to center of card front.
Cut a piece of White Daisy Cardstock at 4 1/4 x 3" and before adhere to card front add your compliment stickers...
I cut the striped border in half and placed about a 1/4" from the top edge and bottom edges
Place the little monster sticker in the middle and adhere the White Daisy piece to center of card front.
Add Puffy Eye stickers on top of the little monsters eyes.
Embellish inside of card and envelope as desired.

Here's my card front:

You can see here where I added the dimensional eyes:


Suggested inside message:
'I See'...
           You're having a Birthday!
           You're doing a great job!
           It's time to Celebrate!

There are lots of sayings you can use, just think about what you are celebrating! I hope you like this little project and that you can see this set is Fabulous for Fun projects other than Halloween! I think the little monsters stamp set is awesome for young boys birthdays!

Here are the products I used:
G1110 Workshop Your Way Jeepers Creepers (includes the pattern paper, Compliment Assortment (with Stickers), Cardstock and Assortment pack (puffy stickers)
X254 White Value Pack Cards and Envelopes

Be sure to check out the matching Thin Cuts and Stamp Bundle as well as new ink colors!
If you already have a consultant please shop with them. If you do not have a consultant I would be happy to help you and earn your business. To order with me click here and choose September Orders. Let me know if you have any questions!

To go to the beginning of the blog hop or to continue on your journey, go to Melissa's blog

Until next time, Create it with Heart.
Debi

Tuesday, April 5, 2016

Regatta Blog Hop


Welcome to the Regatta Paper Pack Blog Hop! So excited you joined us!
If you came here from Melissa David's blog  then you are on the right track.

This card is totally simple and not what I started out to make, but the little boat is so dang cute and the technique is fun! I hope you like it too, let's get started:

I took a white card base and cut my 'wave' B&T (Background & Texture paper) 1 3/4" x 5 1/2"  and use it to guide you in your placement of your sun.
To make the sun with 'Rays', I got a small piece of scratch cardstock and using the waves paper to help me with the height of where to start my sun, I chose a place where all the 'Rays' will stem from. Then all you do is place the scrap cardstock at an angle and sponge Canary ink along the scratch paper (by dragging it along the scratch cardstock) all the way to edge of the card, then move the scratch cardstock (pivoting around from where the Rays will stem from) a bit (depending on how far you want your 'rays' spread out) and keep going until all the sun rays are done. See pictures below and hopefully they will help make this more clear.


After the sun is complete, stamp the sentiment in Saphire ink in upper right corner. Adhere wave B&T to bottom of card.


I then cut out a little sailboat from the 'sailboat' B&T in the paper pack and set aside.
Next, cut out the long wave with the Thin Cut from Saphire cardstock on the embossing machine and adhered it to the top of the 'wave' B&T with the little boat barely behind the waves on the left side of the card.


Simple and fun! I hope you enjoy this one also!The supplies are listed below. This the last stop on the hop, if you started here or want to go back to the beginning click Here.

X7206B Regatta Paper Packet
C1642 My Anchor
Z3202 My Anchor Thin Cuts
Z2648 Sapphire Exclusive Stamp Pad
Z1836 Non-Stick Micro Tip Scissors
Z553 Bonding Memories Glue Pen
Z3022 3L E-Z Dots Adhesive

You can place an order with your consultant or visi my website at: www.CreatedWithHeart.ctmh.com and go Shop!
Thanks for joining us today and have a great week!
Debi

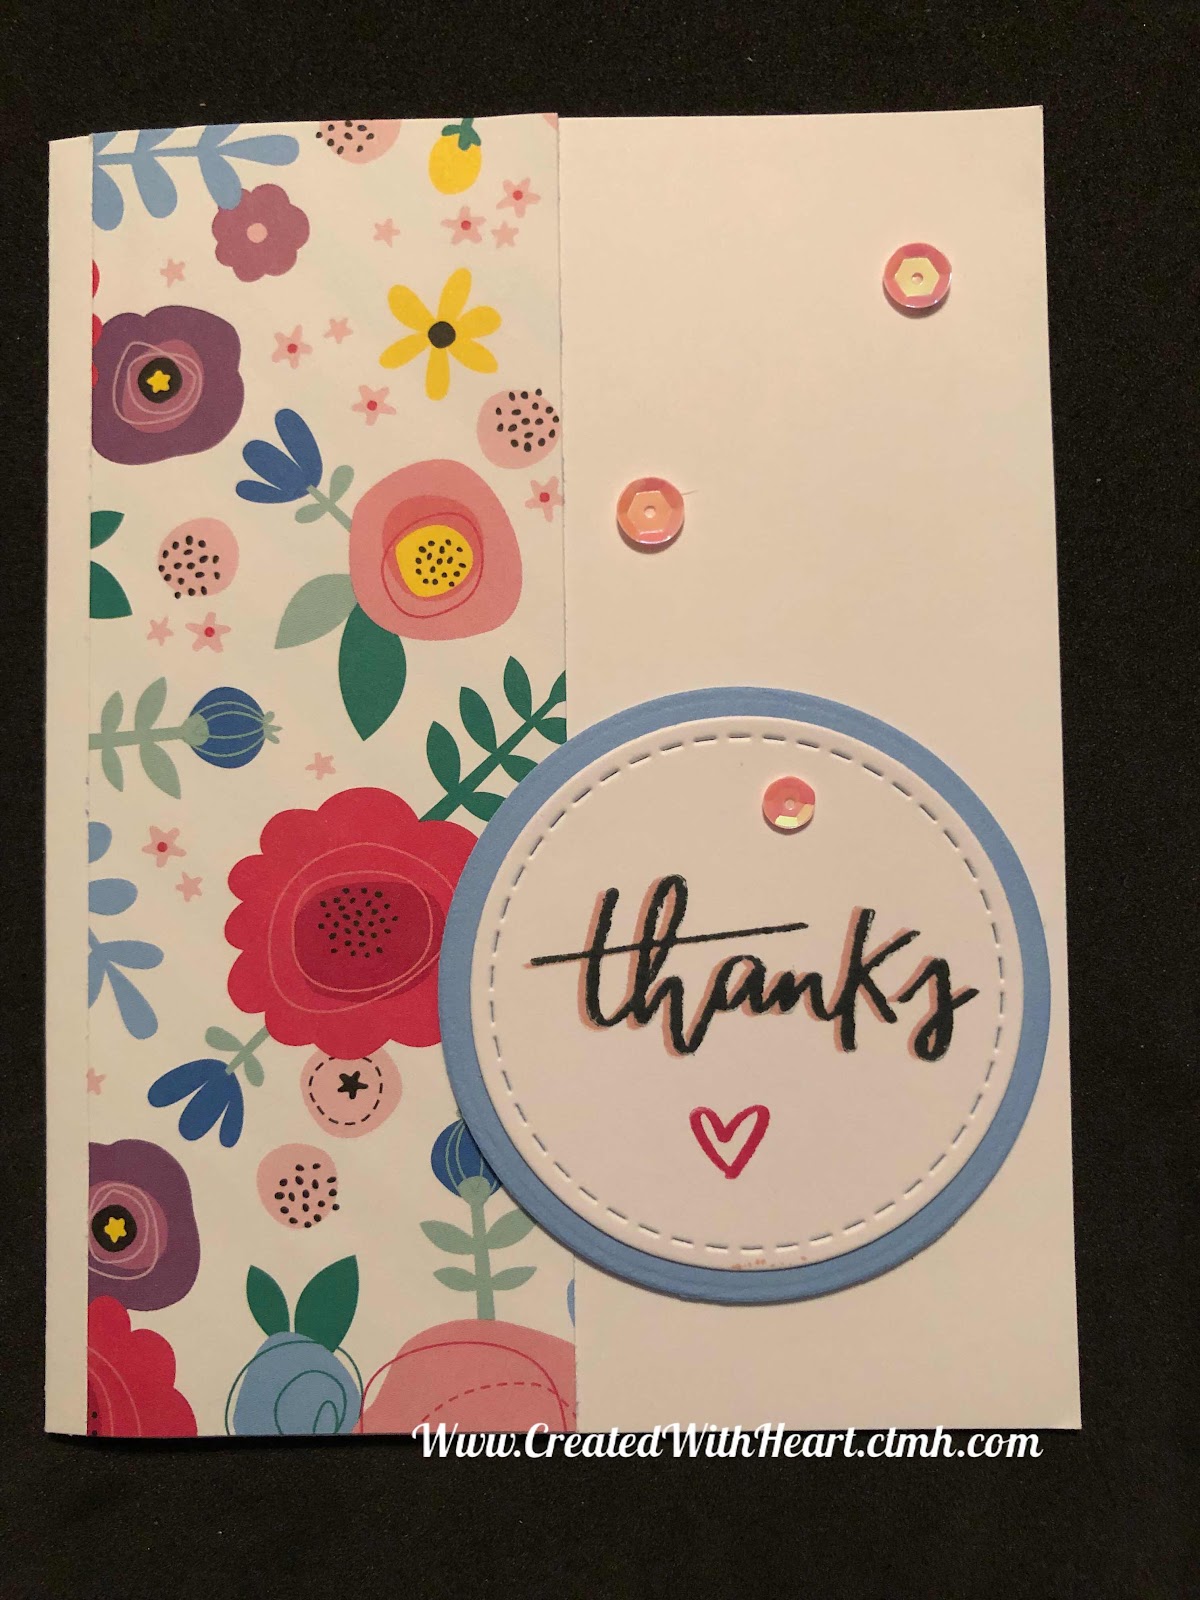
Thank You cards

Thank You! Here is a card that I have been sending to those who have shopped with me recently. It has a fun little technique that is SO easy...