Boutique Featured Paper Blog Hop

Thank you for joining us on this Paper Pack Blog Hop with lots of ideas and tips for you while using the Boutique Pattern Paper and Collection.
A Blog Hop is a 'circular' group of Blogs that you 'Hop' to (or click the link to) that will give you lots of tips, techniques and inspiration for the topic of the Blog Hop. I hope you enjoy your time with us as well as all the projects.
If you came from Brittany Allred's Blog you are on the right track!
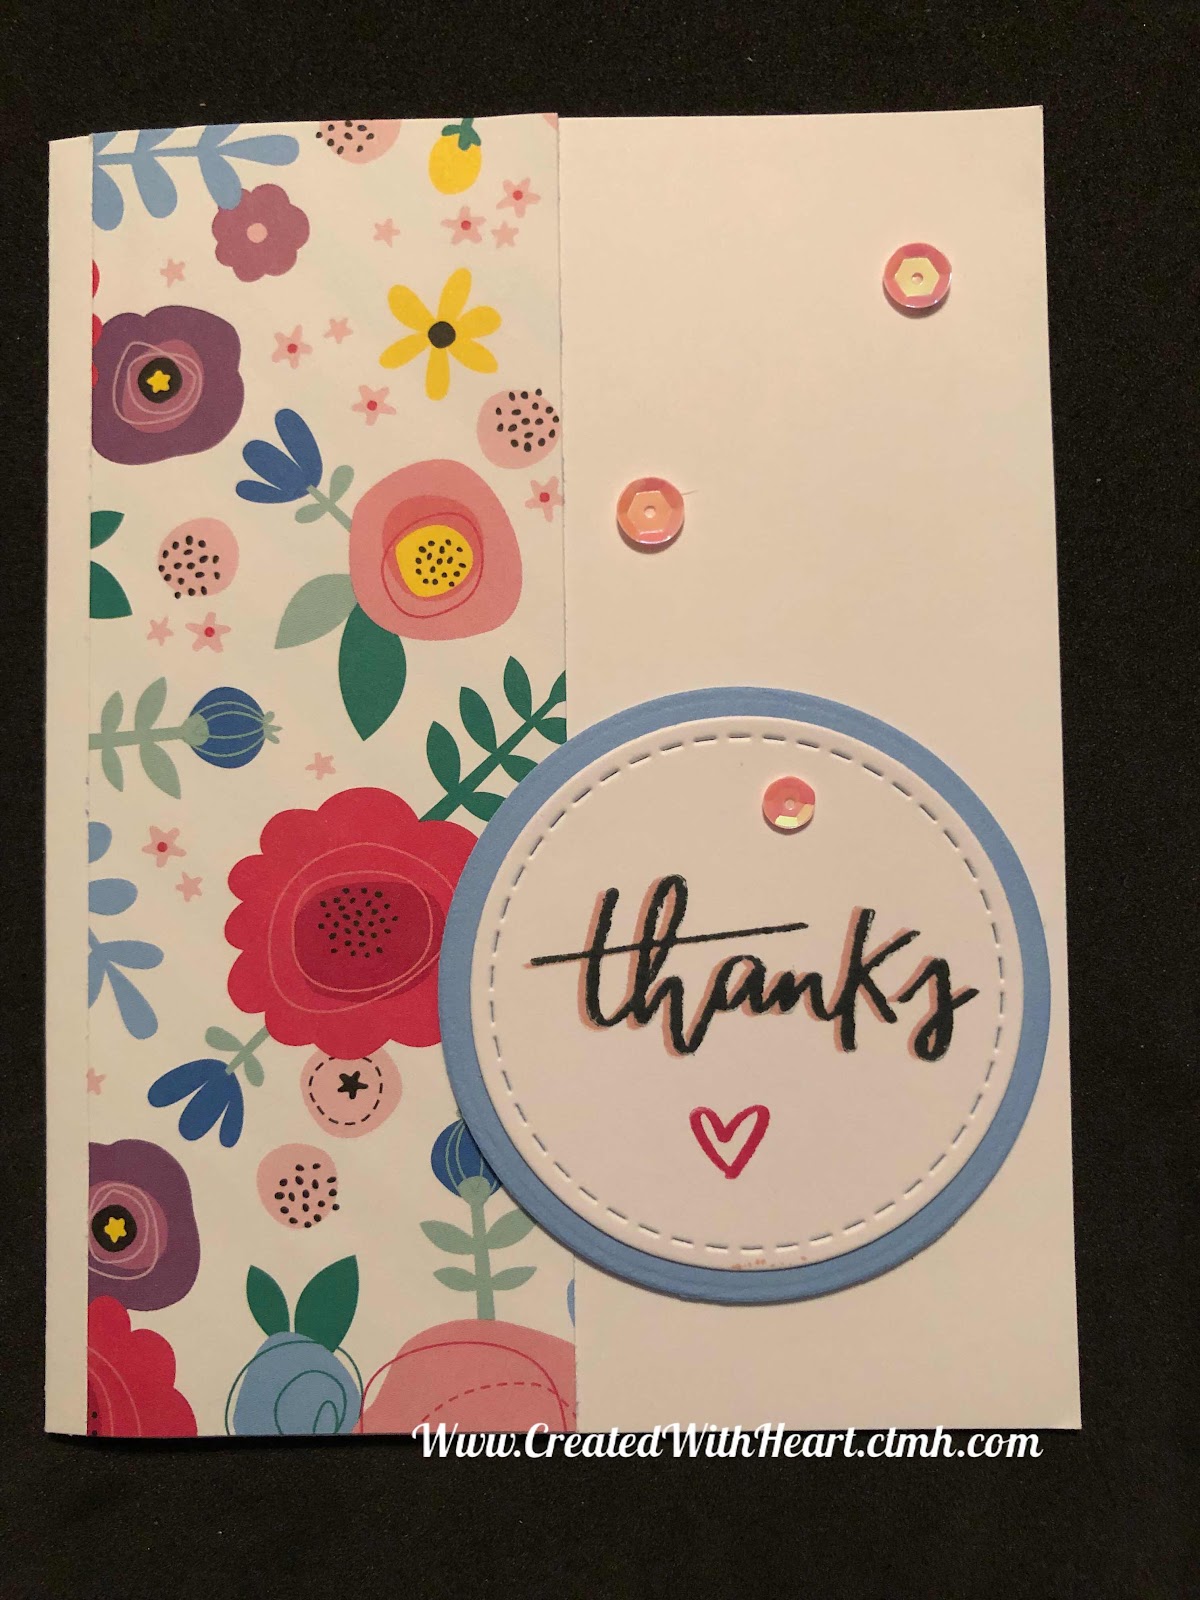
Here is my project for today:
I did a fun little card that also includes the new Color of the year, Sugarplum:

I centered the Cardstock and pattern paper on the front of the card base (opens to right side). Then for the sentiment base piece I centered the pink watercolor patter, however, you will notice that I left the top and bottom at 1/4” each of white showing and only 1/8” (to match the card sides) showing on the ends.I also wrapped the Peacock word patter strip around the center of the pink piece and secured it on the back.

I stamped the sentiment (From the STAMP of The Month, S1809 Just Treats) in Peacock Ink and colored the ‘fat’ parts of the letters with the Sugarplum Shimmer brush, as well as the drops. I stamped the candies in black ink and the inside with Sugarplum. I then colored the candies (from D1806 Hello Pumpkin Stamp Set) with the Sugarplum Shimmer Brush, on the inside stripes and halfway on the wrapper ends (I just squiggled lines to try and match the wrapper end and then colored it in). I added 3 Bitty diamonds on the sentiment piece (by the droplets).I adhered the sentiment at an angle to the pink strip and popped up the candies with thin pop dots.

Here you can see the shimmer:

I hope you like my project today. Here are the dimensions for the card pieces:
White card base (open to right side) closed 5 1/2 x 4 1/4”
Sugarplum Cardstock 5 3/8 x 4 1/8”
Sugarplum Cardstock 2 3/4 x 2 1/4”
Boutique Rose Pattern 5 1/8 x 3 7/8”
White Daisy Cardstock 2 x 4 1/4”
White Daisy Cardstock 2 1/2 x 2” (for sentiment)
Scrap White Daisy Cardstock (candies and cut out)
Boutique Pink Watercolor Pattern 1 3/4 x 4 1/8”
Boutique Peacock Word Pattern strip 1/2 x 5”
Hop on over to Carols Blog to enjoy more great projects.
Thank you for stopping by and until next time, Create it with Heart,
Debi