Clubs

Showing posts with label Holiday. Show all posts

Tuesday, October 2, 2018

Sparkle this Holiday Season!

Are you ready to get started on your Holiday cards? No problem! We have you covered!

With Holiday Sparkle Kits you can easily get your cards done before December! Look how Fun they are:


Quick and Easy Shaker Cards to Liven Up the Holiday!

Shake things up this holiday season with the Holiday Sparkle Cut Above® card kit! This kit contains materials for creating 12 festive shaker cards, including printed card bases, die-cut pieces, stickers, sparkly sequins, and simple assembly instructions. 

Get a 20% discount when you get the Holiday Sparkle Bundle, which pairs the card kit with the My Acrylix® Love with All the Trimmings stamp set, specially designed to further customize the insides of your cards.

You can also receive this delightful card kit FREE when you sign up as a Consultant or host a qualifying party.


Visit my website for descriptions and pricing for the three kits offered Here.

I know these will sell out quickly so if you want some of these, get them NOW! I have mine! More to show you soon...

Check out this video for more insight to this fun kit, Just Click Here.

Have a great day and until next time, remember to Create it With Heart!
Debi

Monday, September 17, 2018

Mini Sewing project bookmark

Mini Project Bookmark Mouse!

Well, as promised here is a tiny sewing project:
I was asked to make some bookmarks and somewhere online I came across animal bookmarks, so here is mine:


Isn’t he so cute!?! I decided to use blue to give to a male. You can color with any colors you like!

Fold a 3 x 3” piece of Cardstock (I used White Daisy Cardstock, if using Cardstock make sure to use your bone folder and make sure to crease well and. Fold evenly.) Pattern paper can also be used..
Follow the pictures to fold:


Tuck the corners over the flap:


Now use a scrap and fold over end and cut out the shape you want your ears:


Cut them in half to have two ears:


Color the inside of your ears, nose and eyes with markers (I used Shin-Han alcohol markers):


Place a tiny bit of tape at the end of the ears and set aside:


Draw in some whiskers with a pencil and unfold:


Pierce holes on ends of whiskers and erase marks:


Use Silver Embellishing Thread to sew in the whiskers:


I just taped the ends on the inside:


Refill, add ears and enjoy!


Thanks for stopping by, I hope you enjoyed the project today! May be a good Christmas Odr Summer gift for kids!
Remember to Create it with Heart,
Debi


Friday, September 7, 2018

Monday, September 3, 2018

NEW Holiday Expressions

Our New Holiday Expressions Idea Book is now ready to shop from!! I am SO excited that we can share this with everyone now, it is an AWESOME book FULL of great collections and stamps and new colors and REALLY fun techniques and...
Well, maybe you should see for yourself! If you haven’t received a copy yet, then any order on my Website will allow you to add one for FREE when checking out (scroll below your amount due and it will allow you to click on ‘add’ beside the Idea Book and add it to your order), in the meantime you can view it Here on my website.


Check it out, you will be glad you did. I do have one TIP: have a pen and paper ready as it really is THAT good!

Have a great week and remember to Create it with Heart,
Debi

Friday, March 17, 2017

Happy Day


Happy St. Patty's Day!

I hope you have good luck in all your adventures today!

You can make this card with:

5 1/2 x 8 1/2" card base, fold in half with opening to the right hand side
5 x 3 3/4" Topiary cardstock
5 1/4 x 3 1/2" White Daisy Cardstock
Crichton cut Clover
Thin Foam Tape
Sentiment stamp(s)


Fold card base in half with opening to right side.
Adhere Topiary green Cardstock to center of card front.

Using Topiary Inkpad, stamp Sentiment in lower center part of of White Daisy Cardstock (see sample.
Adhere this piece to center of card front.

Adhere Pear (light green) clover to middle of Topiary clover and adhere this piece with Thin Foam Tape to upper center of White Daisy Cardstock (see sample).

Decorate inside of card and envelope as desired.


Have a great day and remember to Create it from the Heart!
Debi

Thank You cards

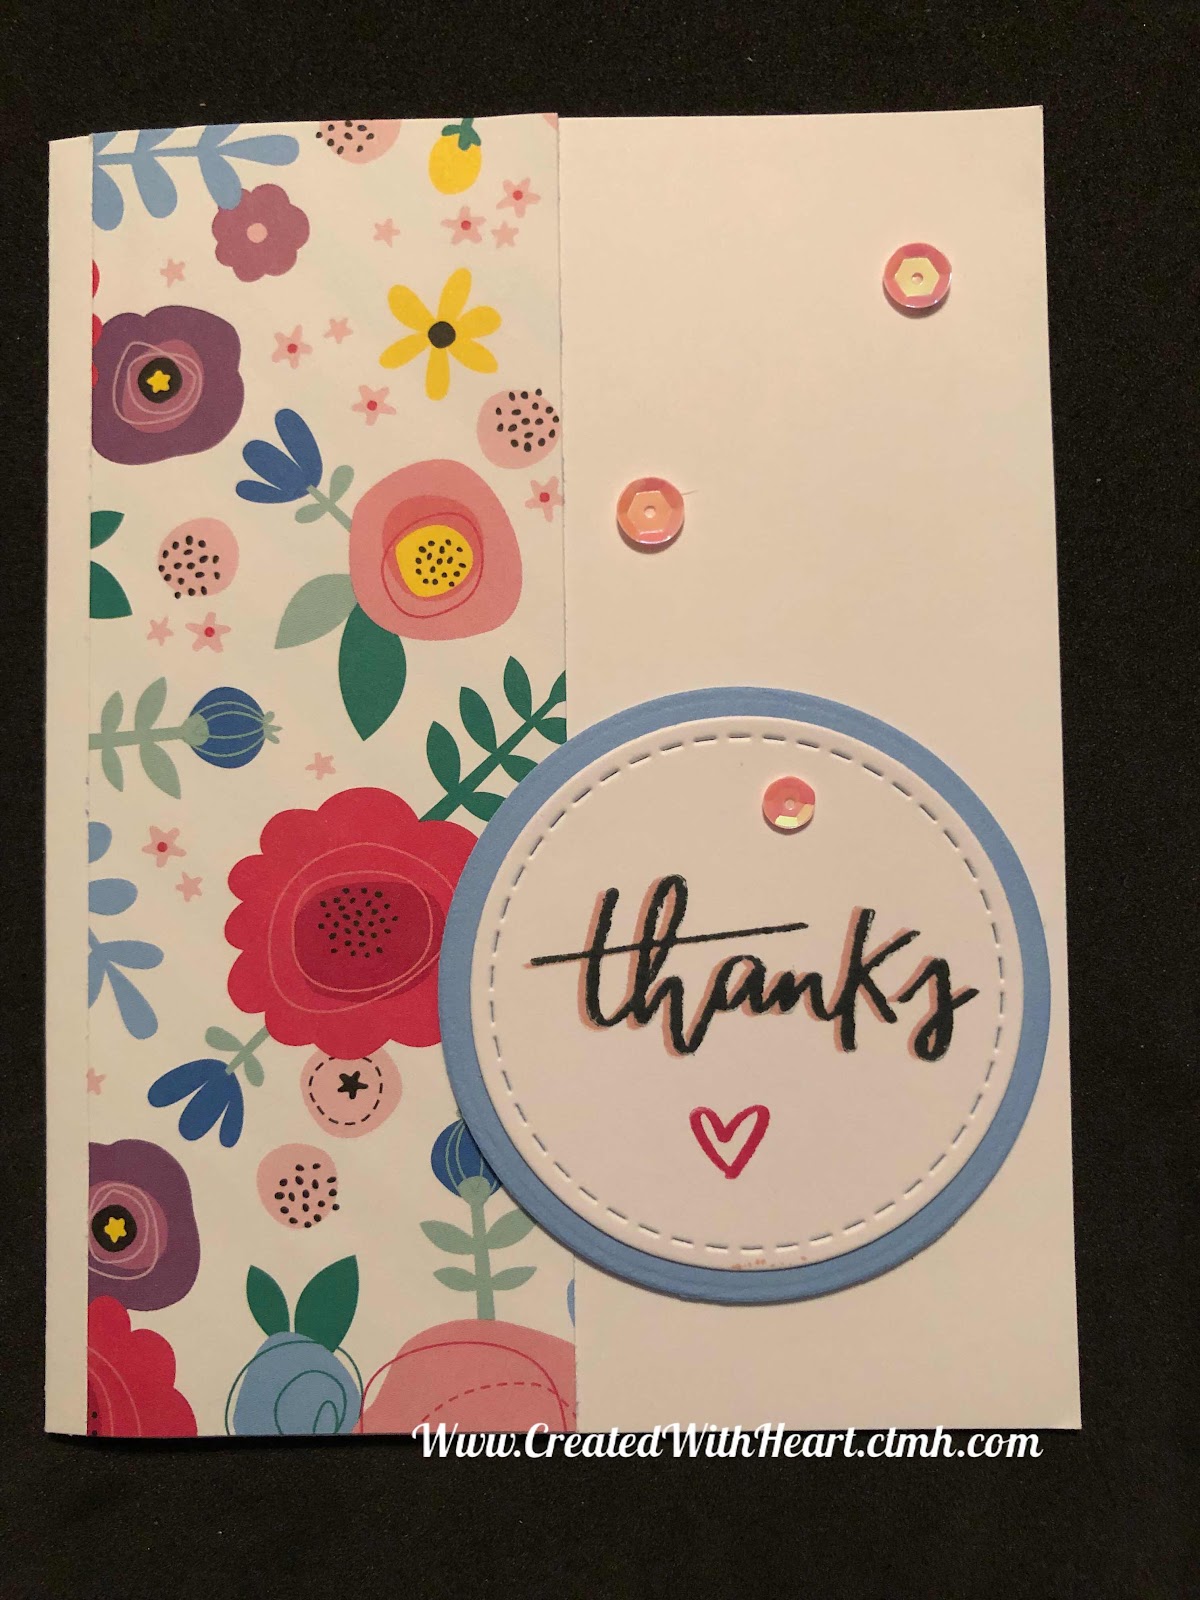
Thank You! Here is a card that I have been sending to those who have shopped with me recently. It has a fun little technique that is SO easy...